


WORKSHOP: How to service Fox DPS seals
Ryan takes you through the simple steps of replacing the seals on your Fox DPS rear shock.
Photos: Jordan Riddle
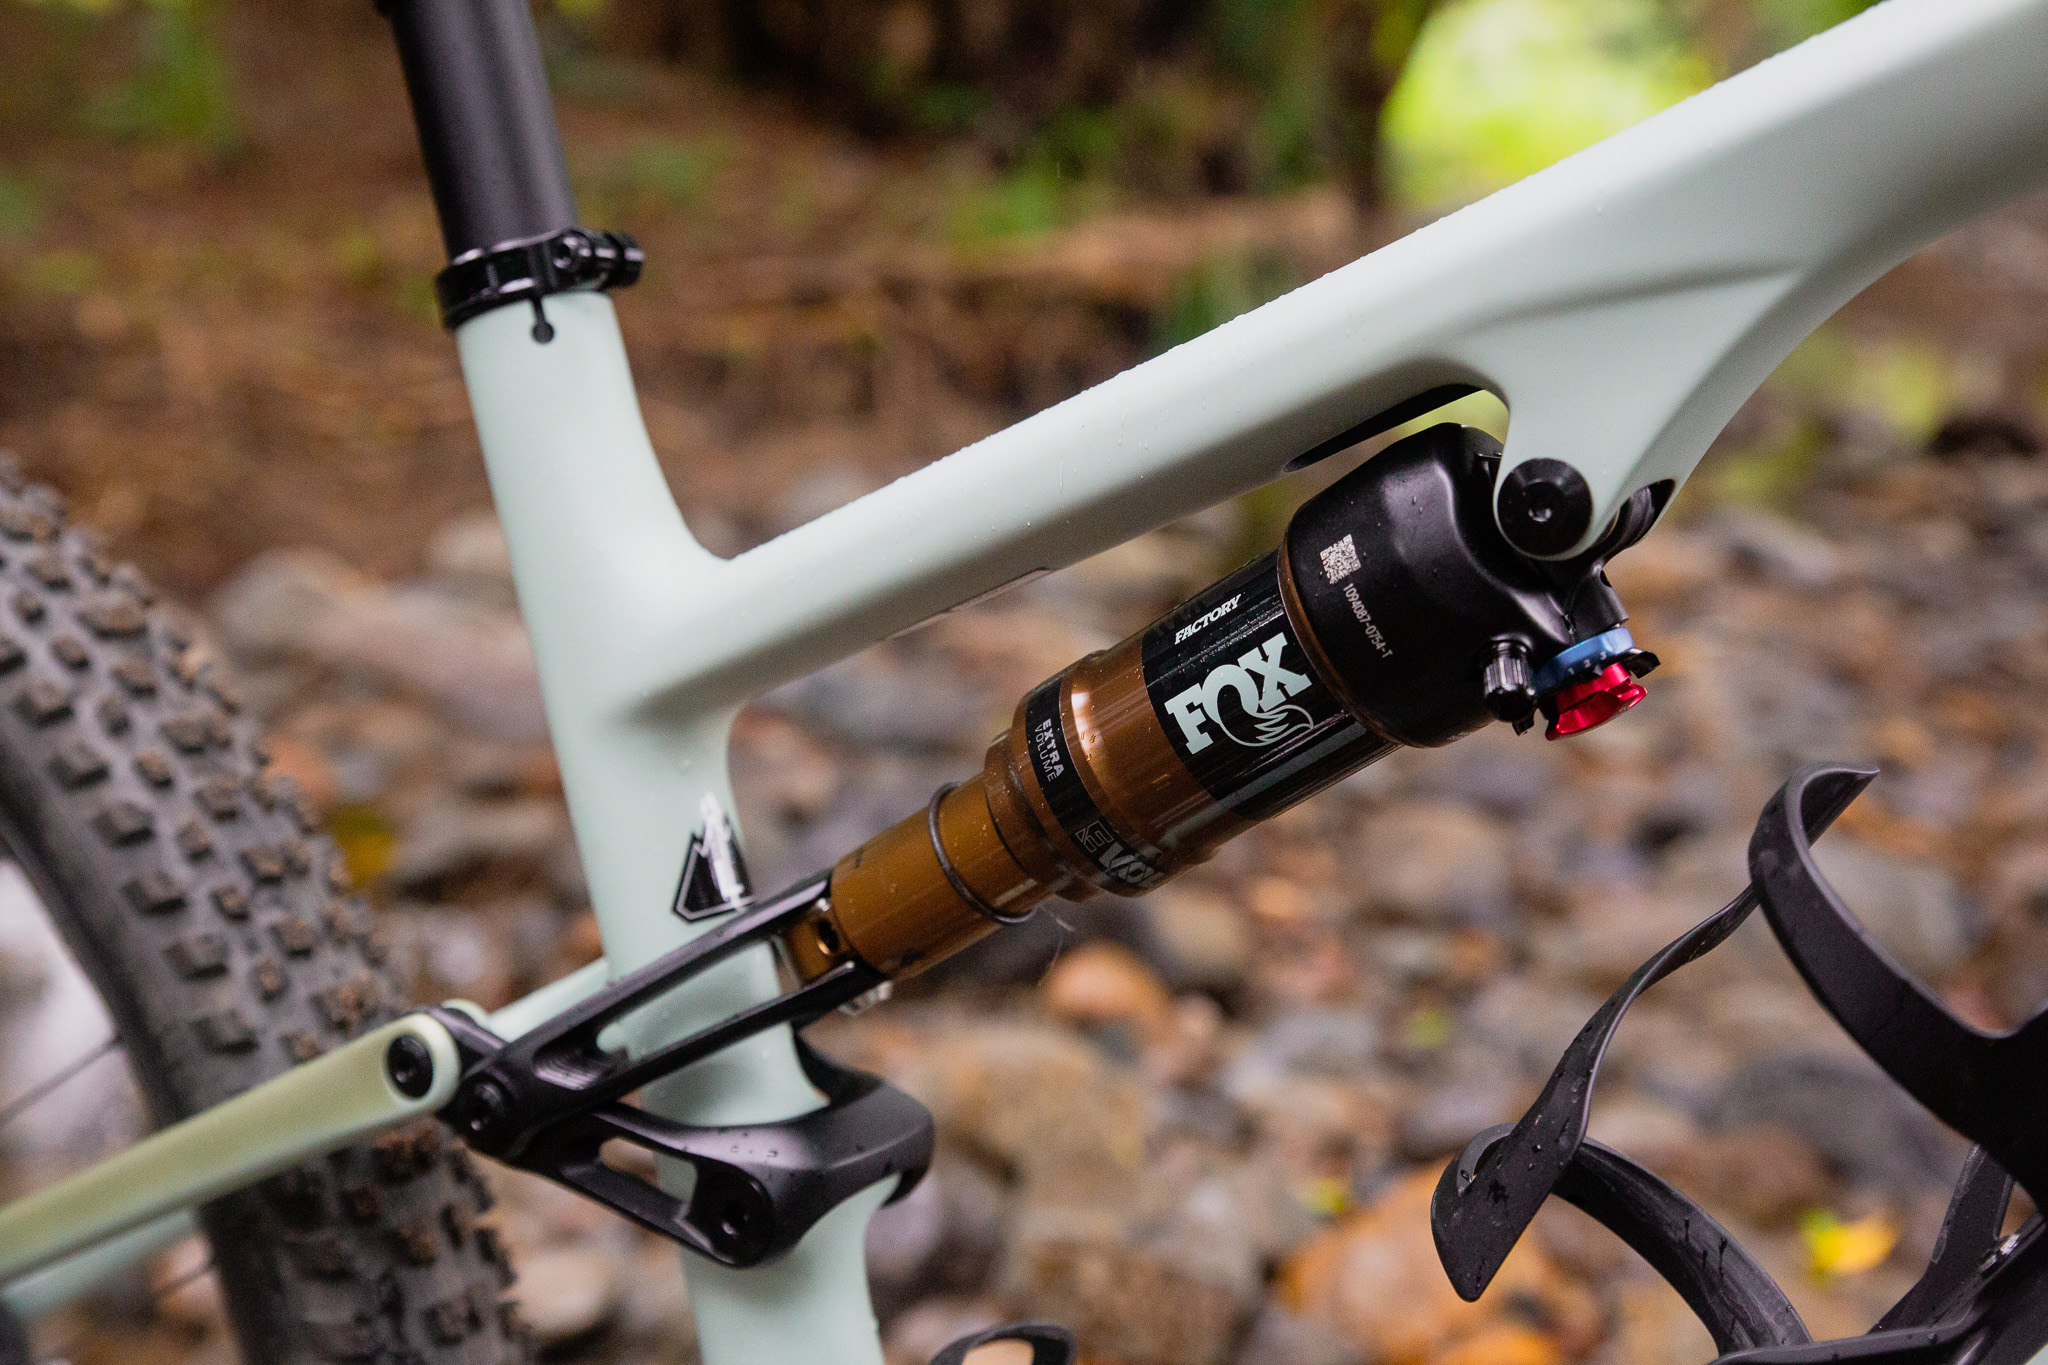
While your rear shock may have longer service intervals than your fork, they are under a higher leverage ratio, higher pressure and can generate quite a lot of heat on longer runs. A simple service on the air sleeve (or air spring) can reduce friction, heat, fatigue on the trail, increase grip and control and just prolong the life of the unit.
Wiping the dust seal after each ride and cleaning the body of the shock (the externally visible shaft) will keep the shock running smooth for longer. However periodically opening the air can, cleaning, lubricating and even replacing the seals will remove a surprising amount of debris and friction from the shock. Think of the dust seal as your eyelid, one little granule under it and it will scratch away at the surface.
Before working on any suspension item, always do a thorough wash of the unit so you don't contaminate the internals with any debris, and ALWAYS wear eye and or ear protection when depressurising the air can.
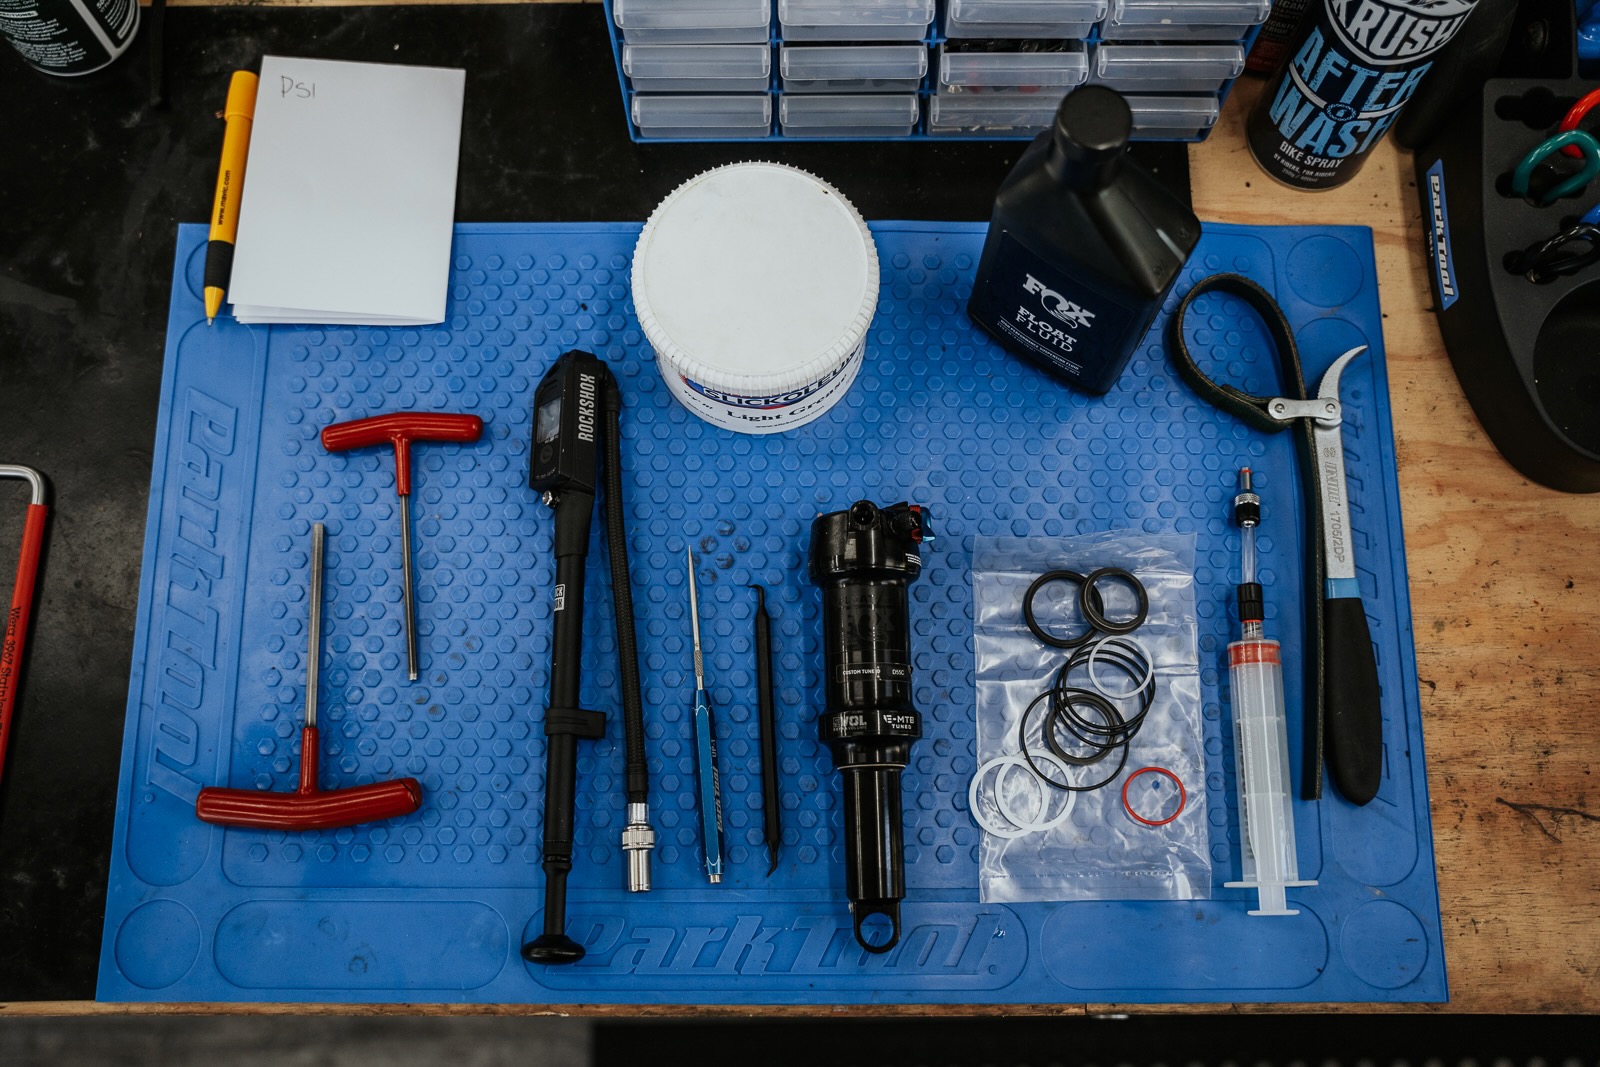
Tools needed
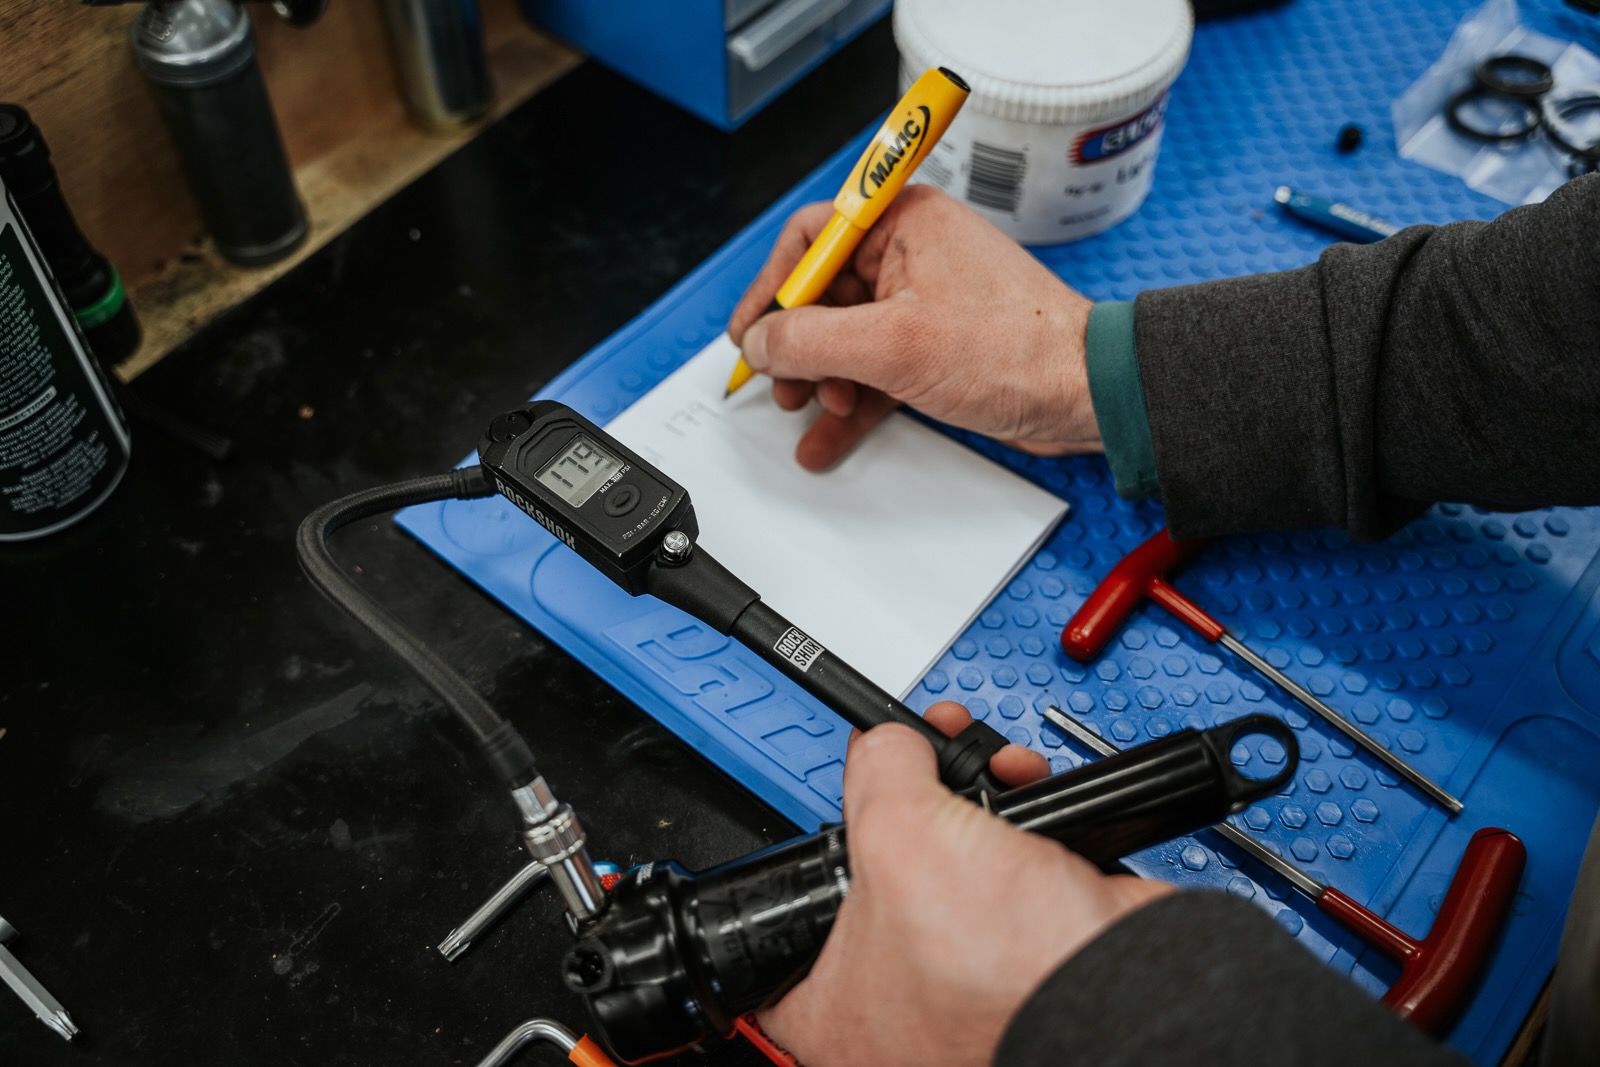
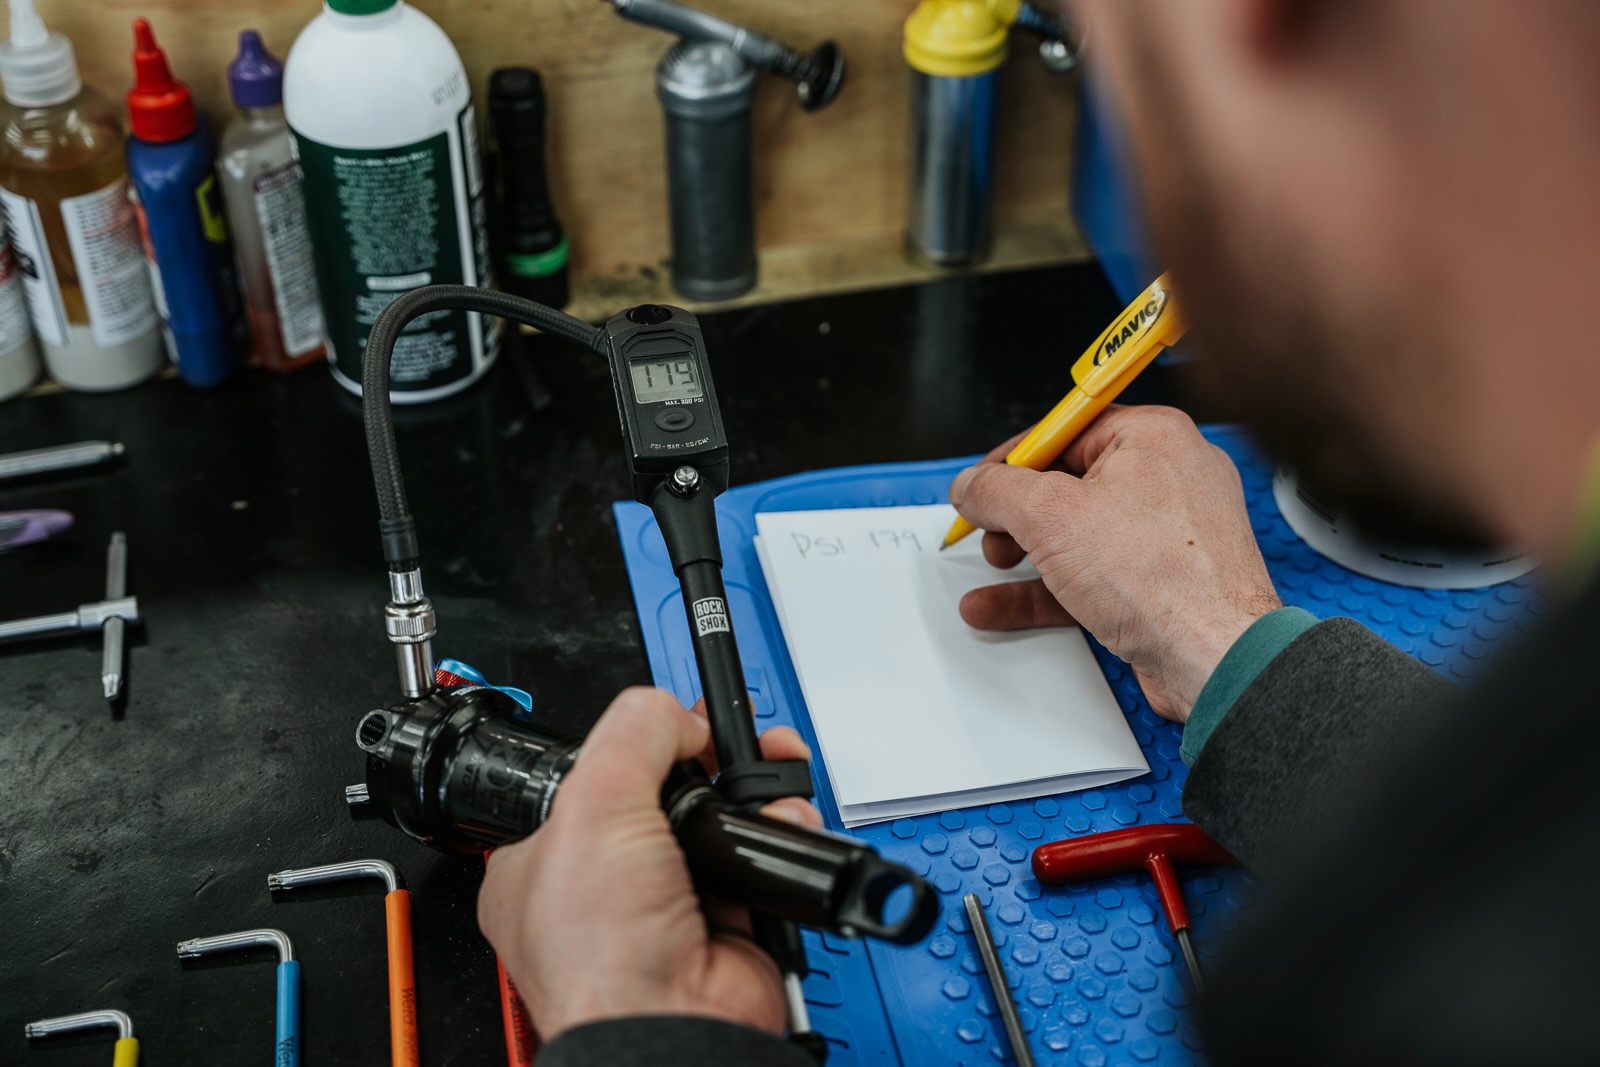
STEP 1 – make notes
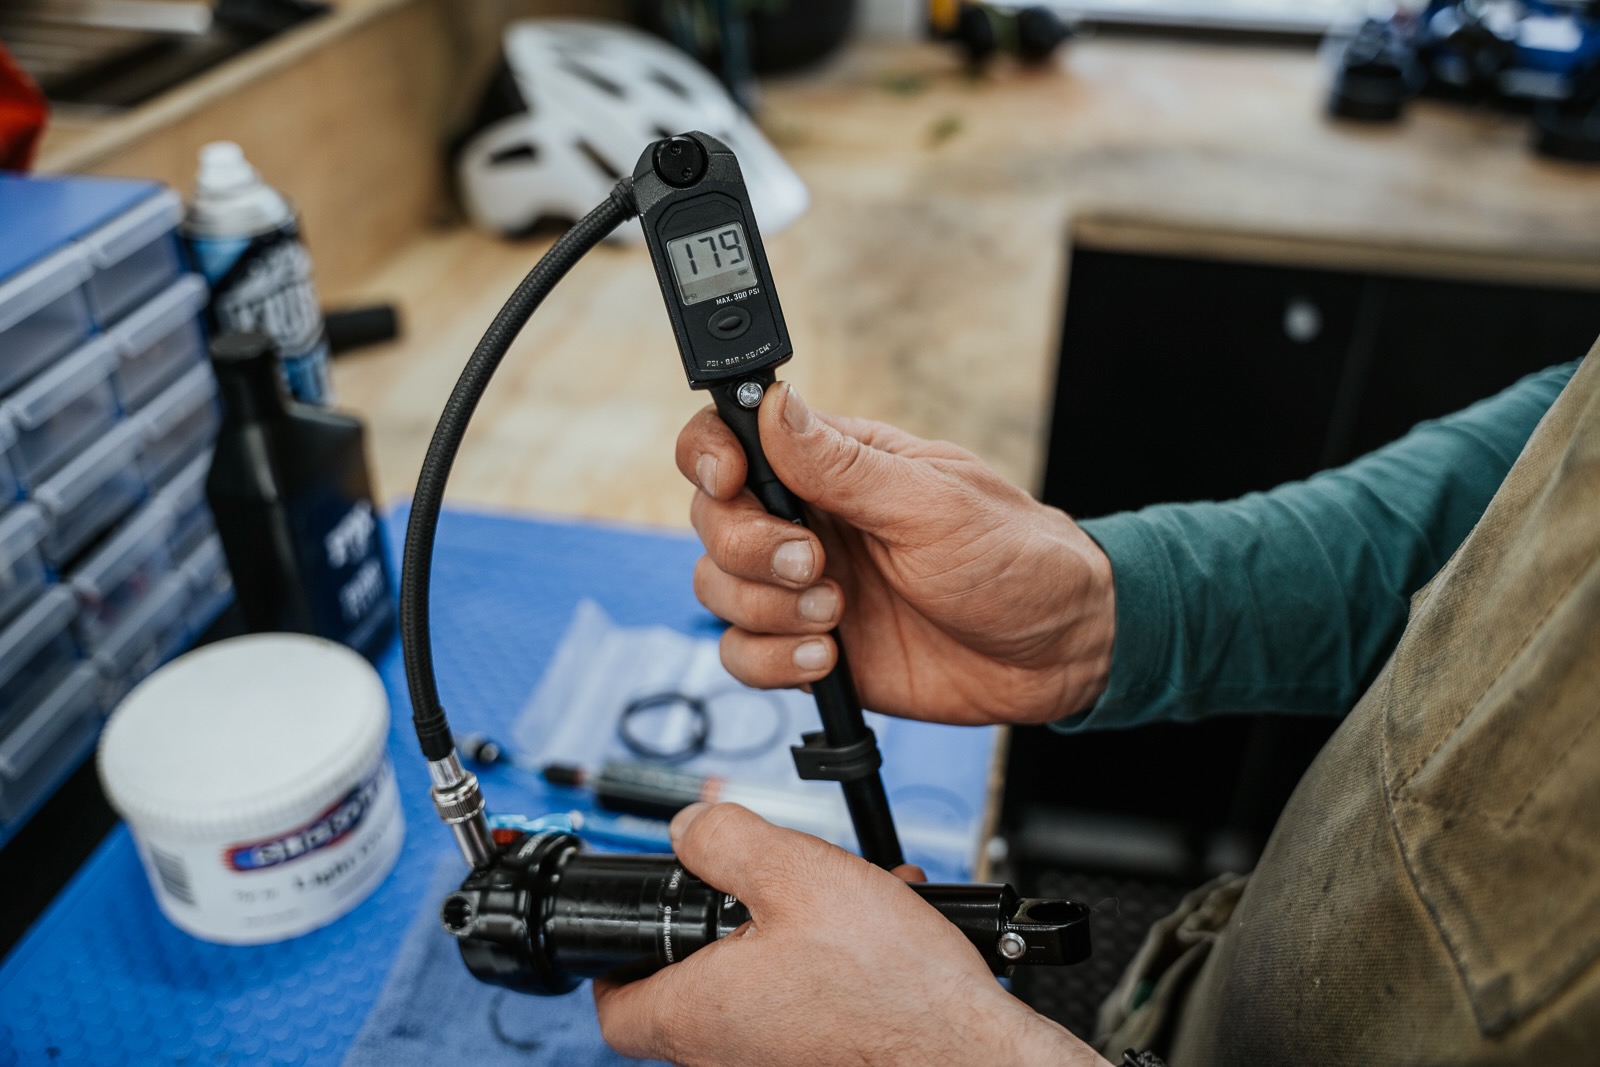
Record the shock pressure and damping settings, and then remove all the air from the shock
NOTE: If the shock body (visible shaft) sucks down and into the can we recommend not proceeding to the next step and get that shock to a trained professional as it has huge amounts of pressure stuck in the negative chamber and could cause serious harm when removing the can.
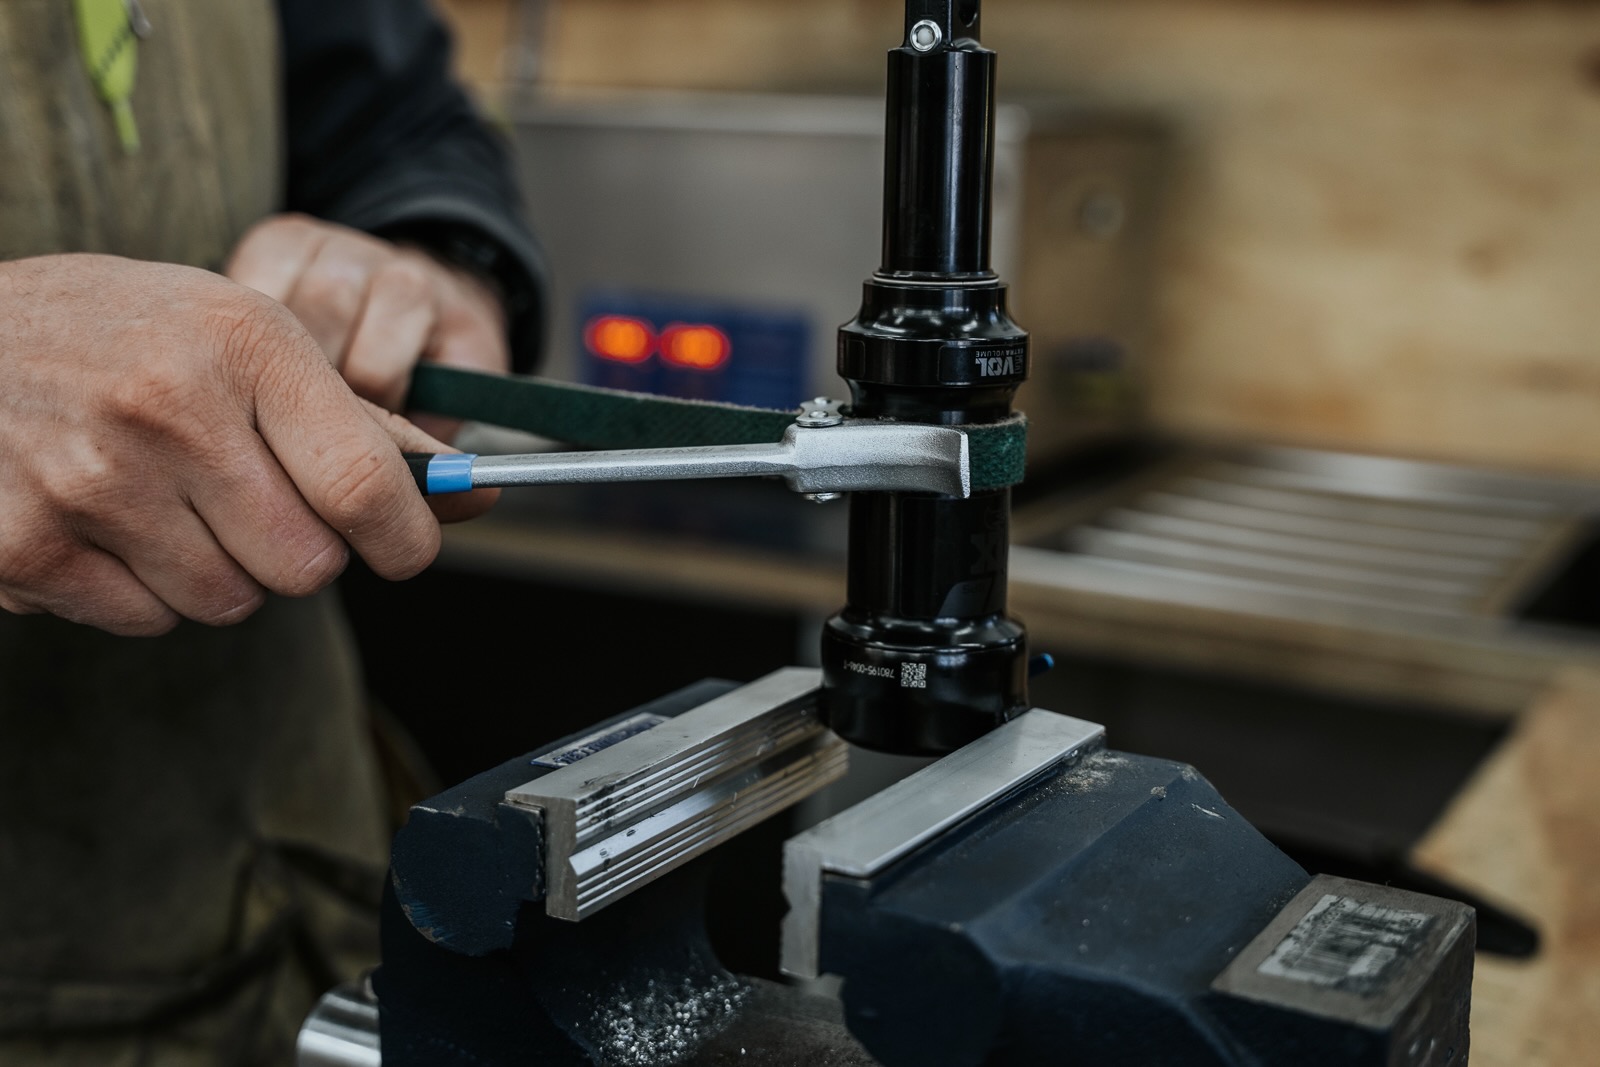
STEP 2 – remove the air can
Clamp the shock eyelet or Trunnion mount in your vice using soft jaws. Loosen and remove air can anticlockwise using your hands, strap wrench or even an old tube for additional purchase being carful to not damage the stickers.

Once the can is loose, if the thread feels really tight or like it's binding, double check the shock has all the pressure removed, an empty air can should turn smoothly (snug but smooth).
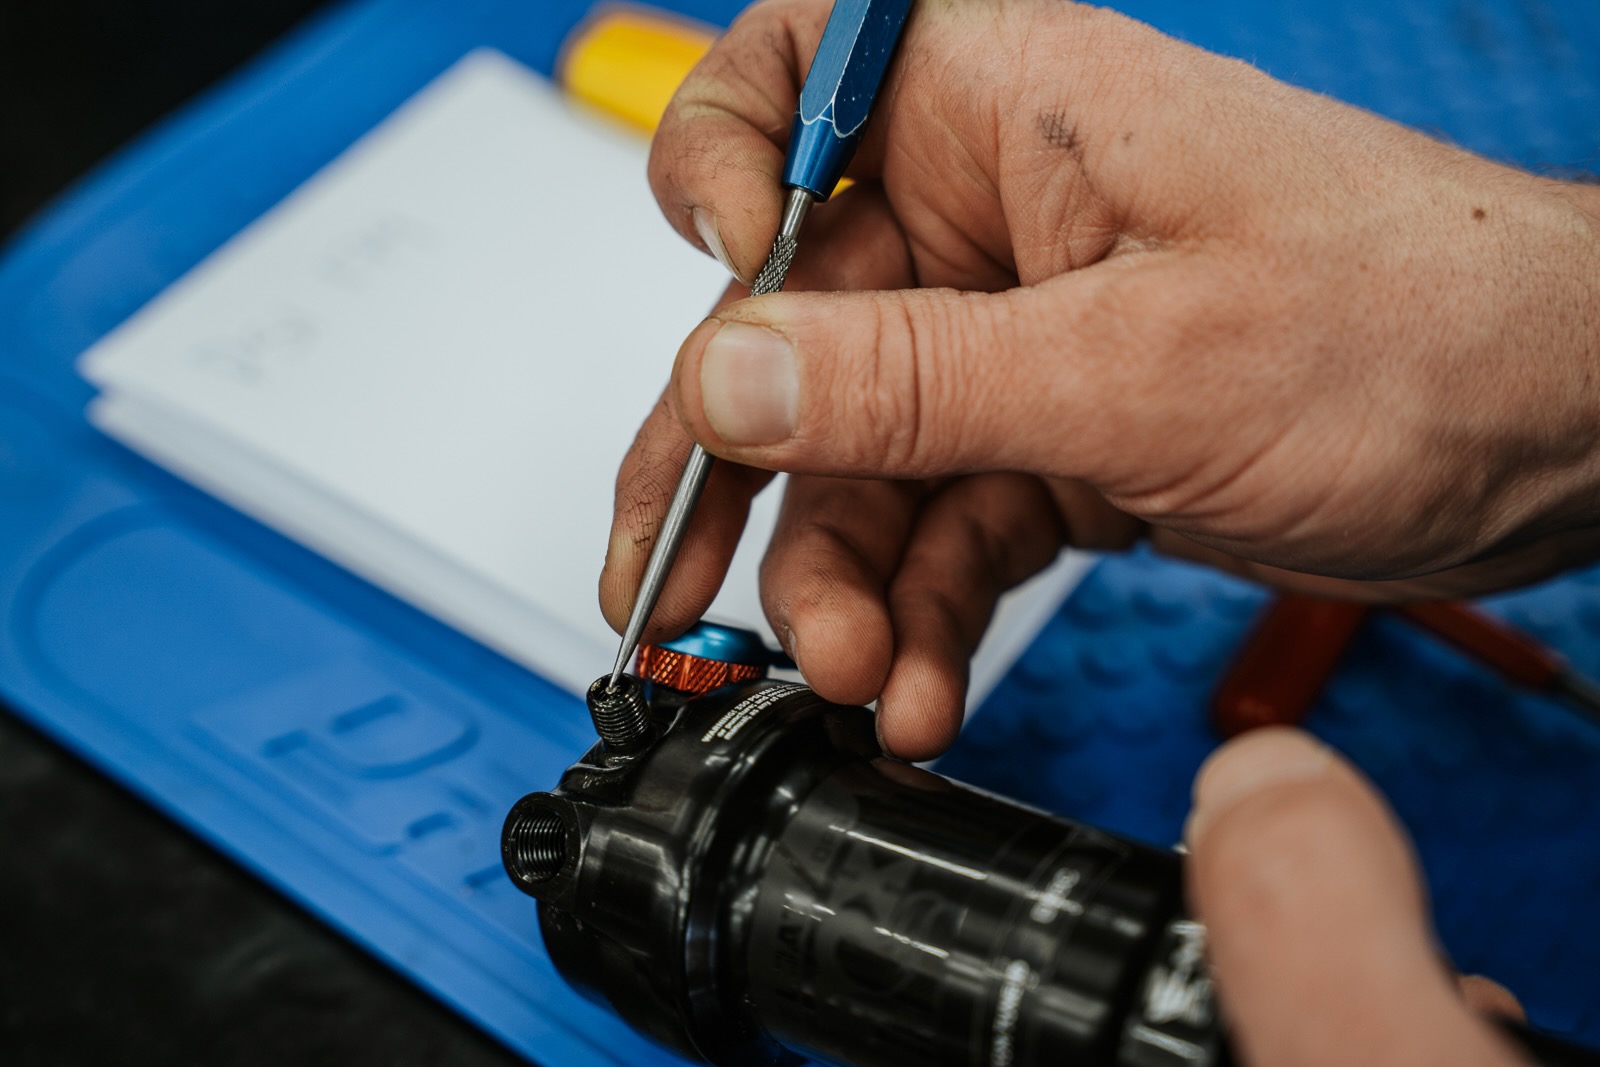
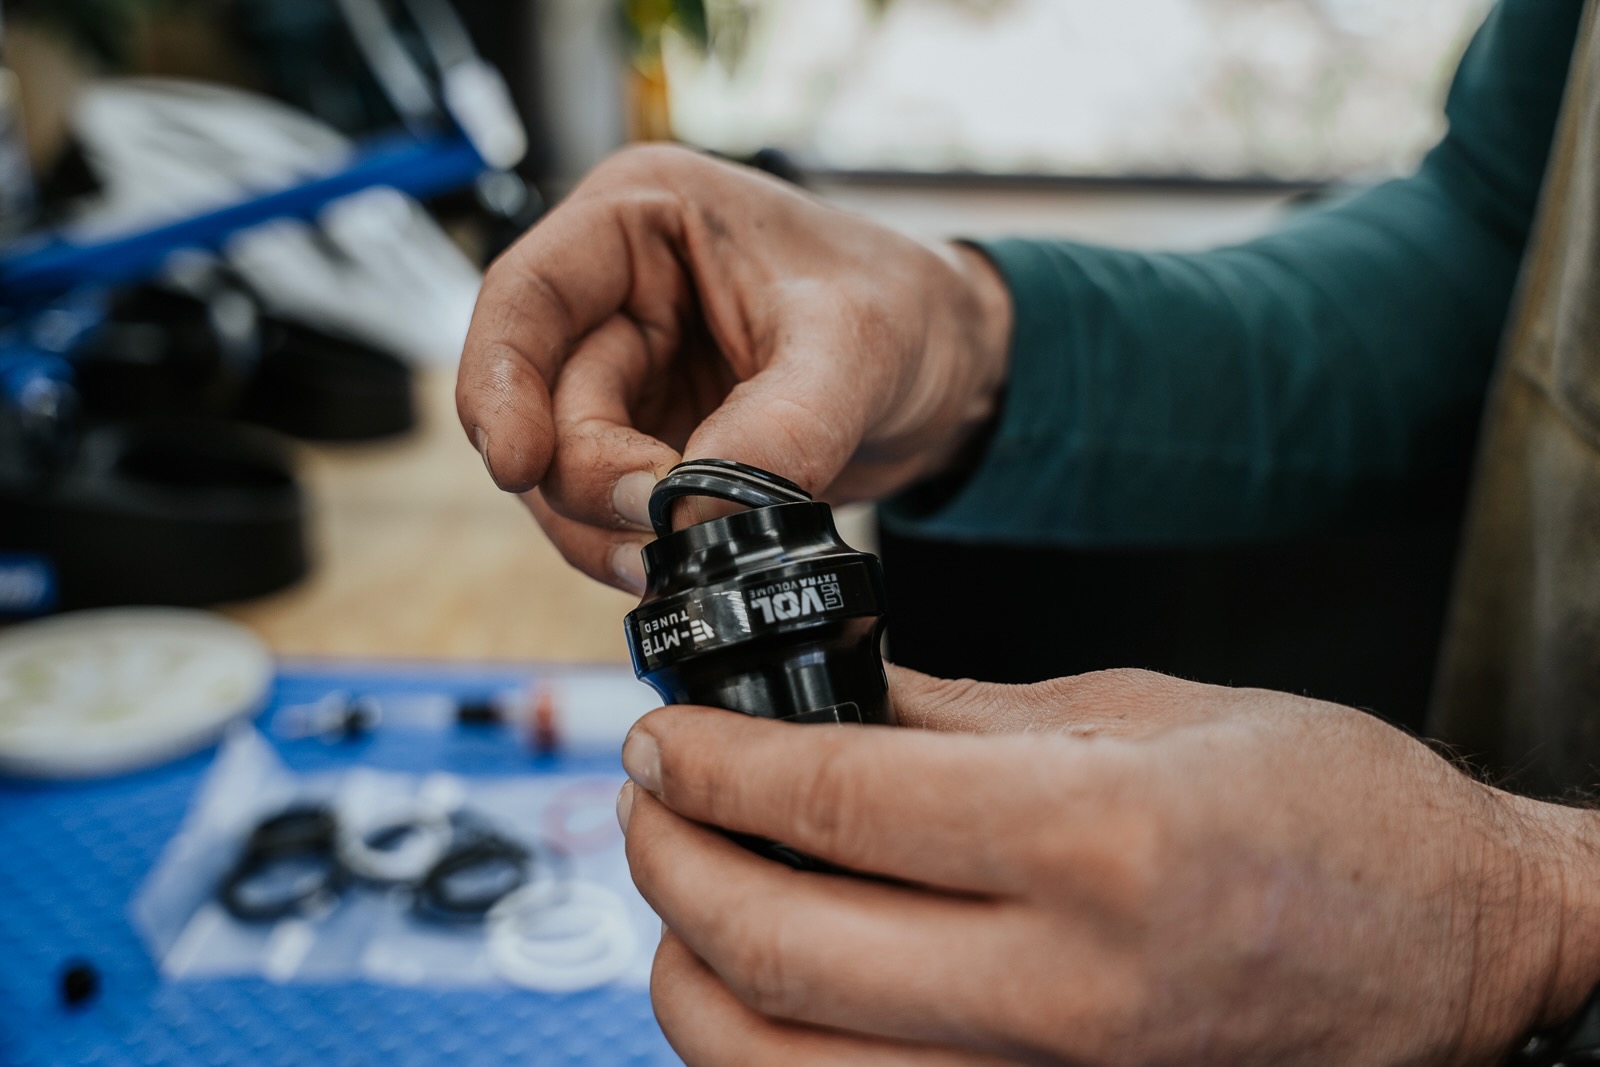
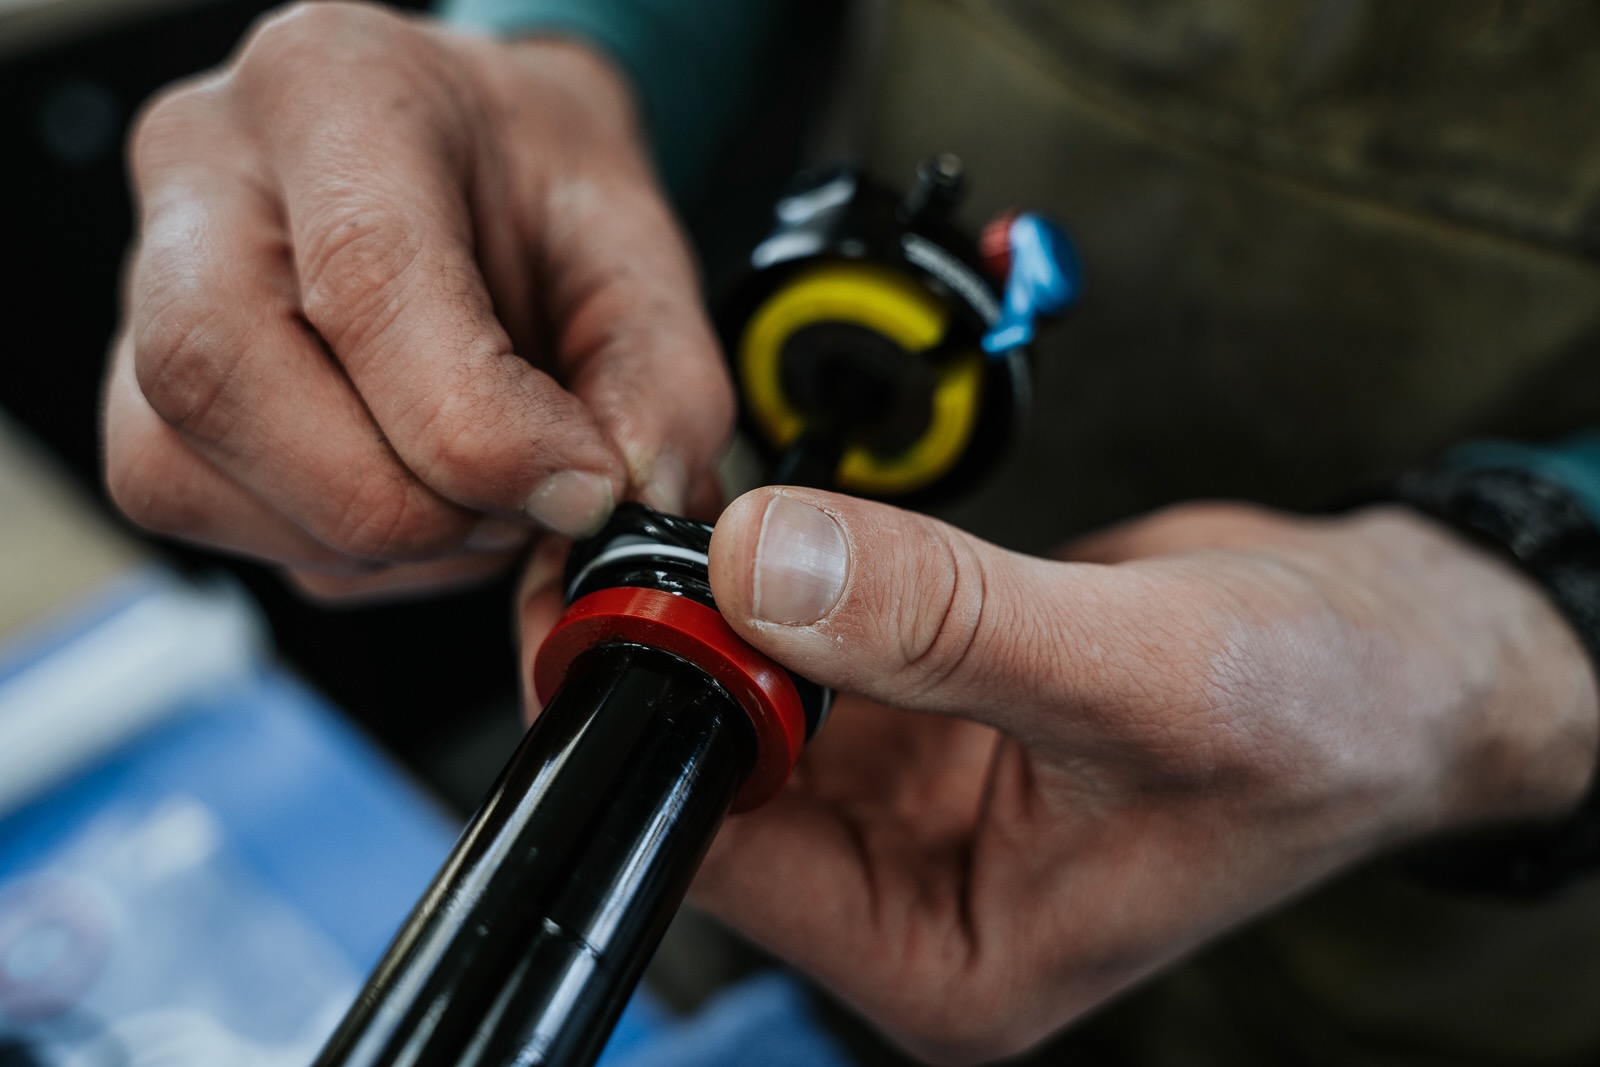
STEP 3 – remove the seals
Remove all seals using fingers or plastic/composite picks only, metal picks should be avoided or used with extreme care as any scratches made to the internals of the can or shock will cause air to leak. We unfortunately see this often!
Inspect for wear to the damper shaft, air can and surfaces the seals will be touching.
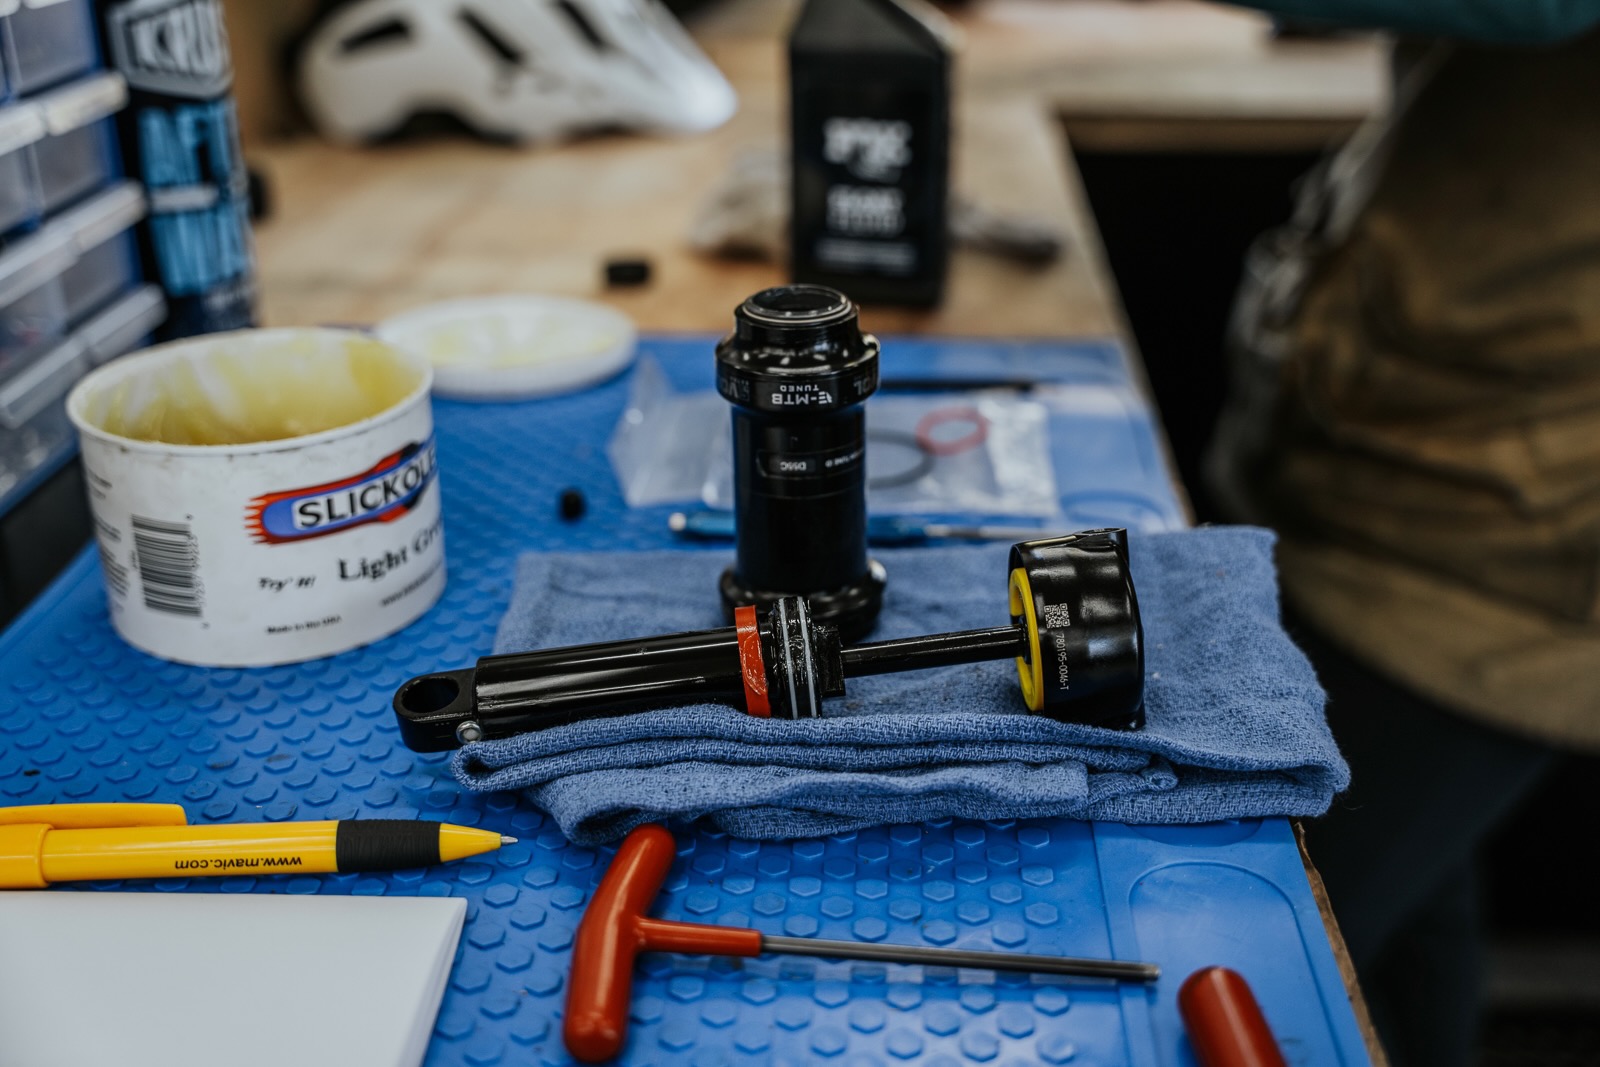
STEP 4 – fit new seals
Install new seals, a light smear of Slickoleum or the manufacturer's recommended lubricant on the seals is best. Grease all seals and contact points with Slickoleum or the manufacturer's recommended lubricant. Install the manufacturer's recommended air can fluid type and volume. A few millilitres of Fox Float Fluid or 5-10wt suspension fluid works best.
STEP 5 – refit the air can
Gently slide the air can back onto the shock and tighten the can with a strap or tube, the stickers writing will line up when its tightened up correctly.

STEP 6 – add pressure
Repressurise the shock. Equalise the positive and negative chambers and check pressure again. This can take some time, resting your weight onto the bike and sagging the rear suspension past the point of sag and back again will help both chambers equalise. You will likely hear AND feel this happen, sometimes a light squealch and or hiss when it does so and the shock will become instantly more supple as the air enters the negative chamber. Cycling back and forth past this point will ensure the same pressure is on both sides of the air piston, when this occurs re check the pressure and repeat the process if topping up was required.
STEP 7 – refit the shock
Refit your shock to your bike, check damper settings are correct as per your notes. Double check the shock's mounting bolts are torqued correctly to the appropriate specifications – and you're set to go!