Building the Momsen Vipa ULTRA
The Momsen Vipa Ultra is a marathon and stage race specific bike. With the boom in stage racing right now we thought we better check one out.
Do you see many Momsen bikes on the trails near you? Chances are you don't. The South African brand are new to Australia, and while their bikes suit the Australian terrain and events we love, it is still early days with the brand in Australia. However, back in South Africa the Vipa full-suspension line is highly popular on the trails, thanks to a smart suspensions design and well-considered parts selection, which is exactly what we found when testing the Momsen Vipa Race 2 in 2017. With a Vipa Trail in the range, suiting those who want 120mm of travel that still pedals well for a 100km race, the rider behind the brand, Victor Momsen, was working on something new. Something really race focused.
And that is where the Momsen Vipa Ultra comes in.
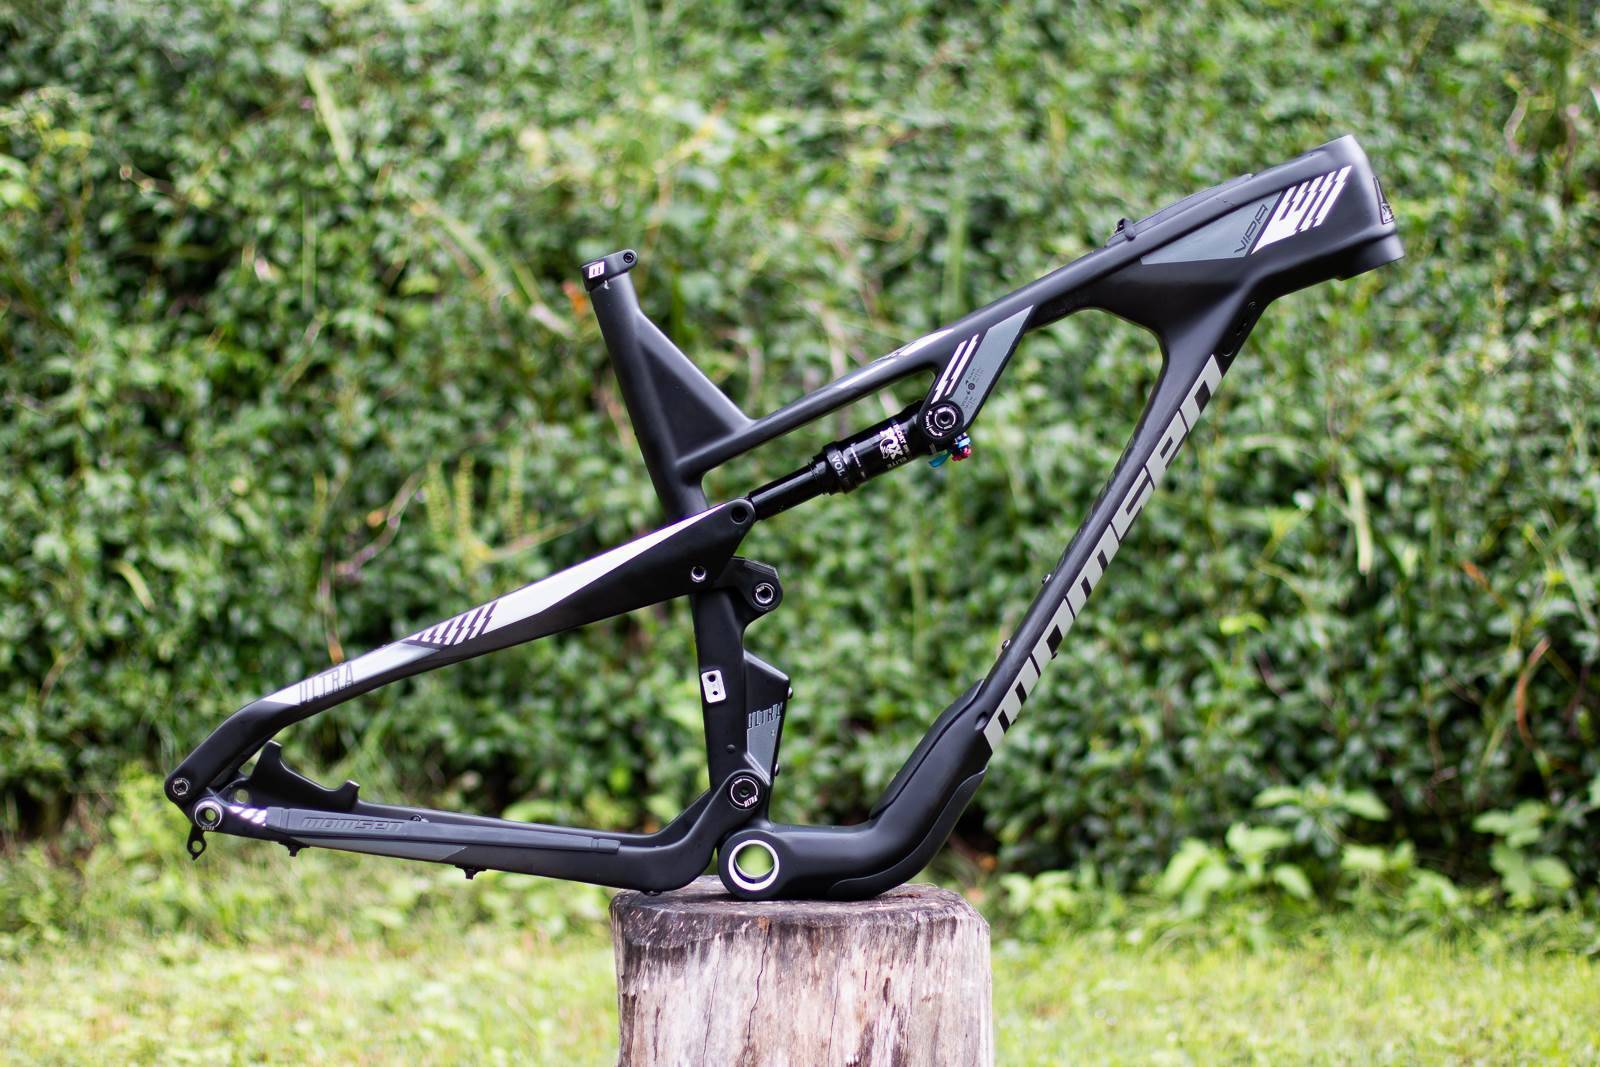
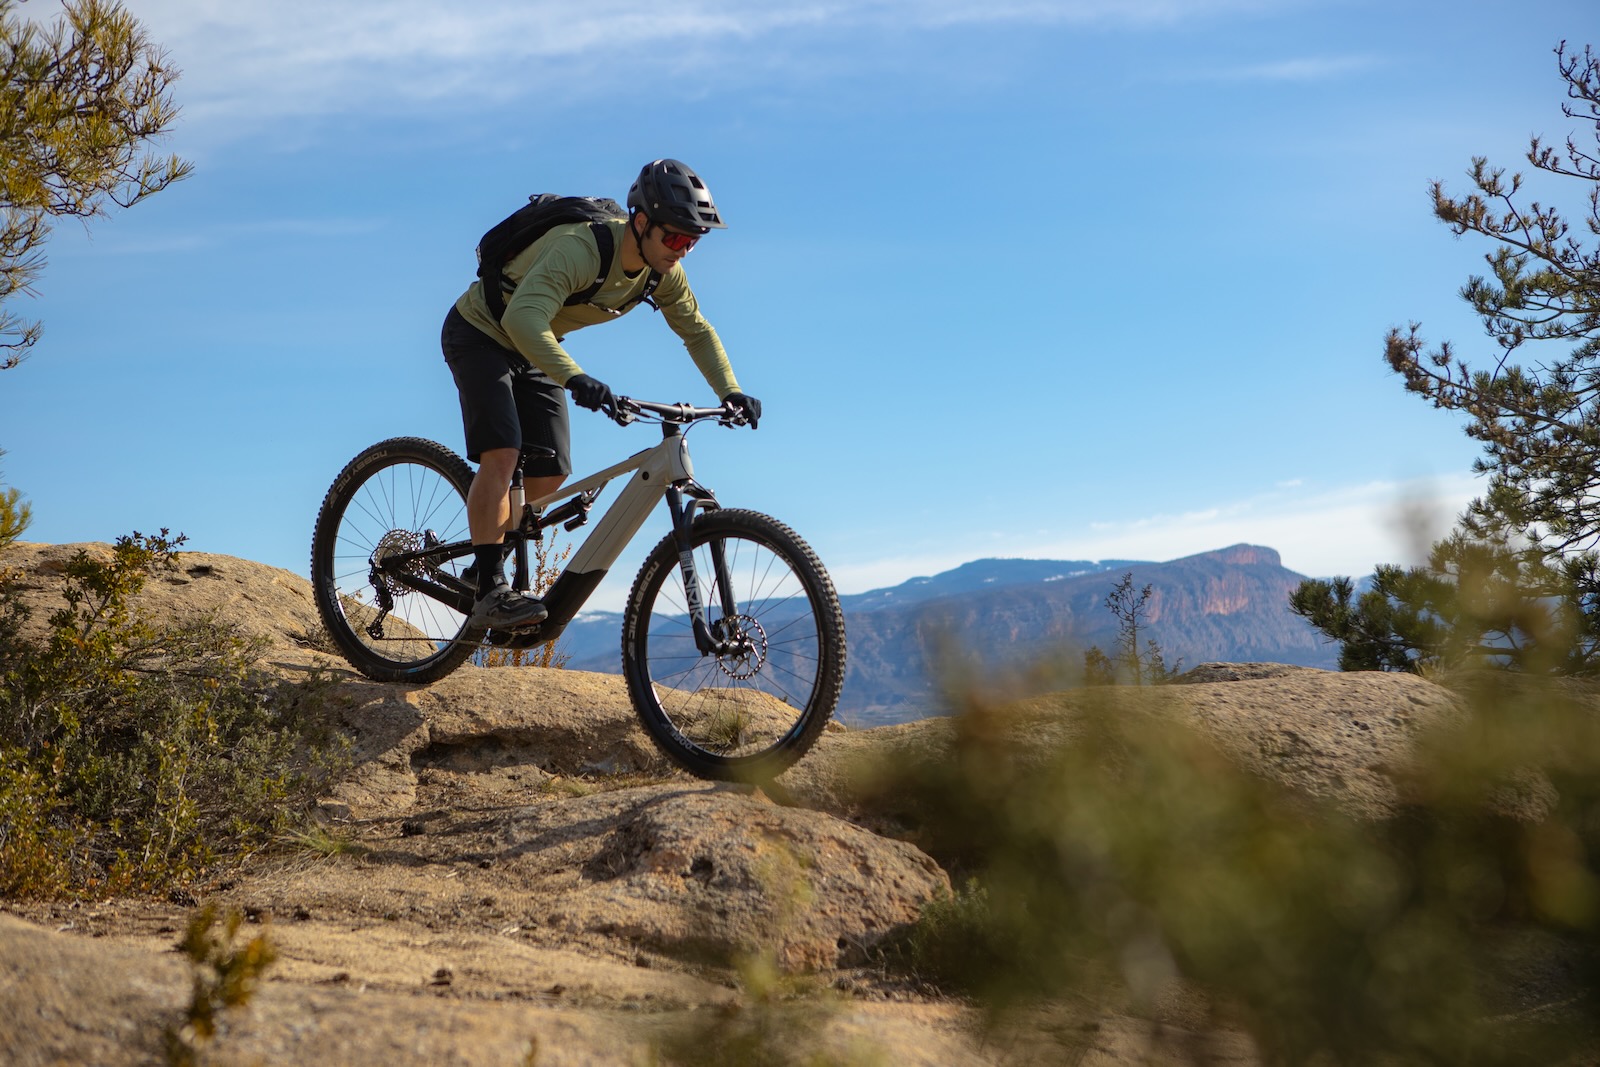
It was launched at the Cape Epic in 2018, and became available in October 2018. The Momsen Vipa Ultra pushes the long and low geometry of new XC bikes into the marathon realm, creating a bike with 100mm of travel that can be built with a 100 or 120mm fork, in a steep or slack setting. What's more, it can fit 3 bottle cages, has two in-frame storage compartments, internal cable routing and a low standover height.
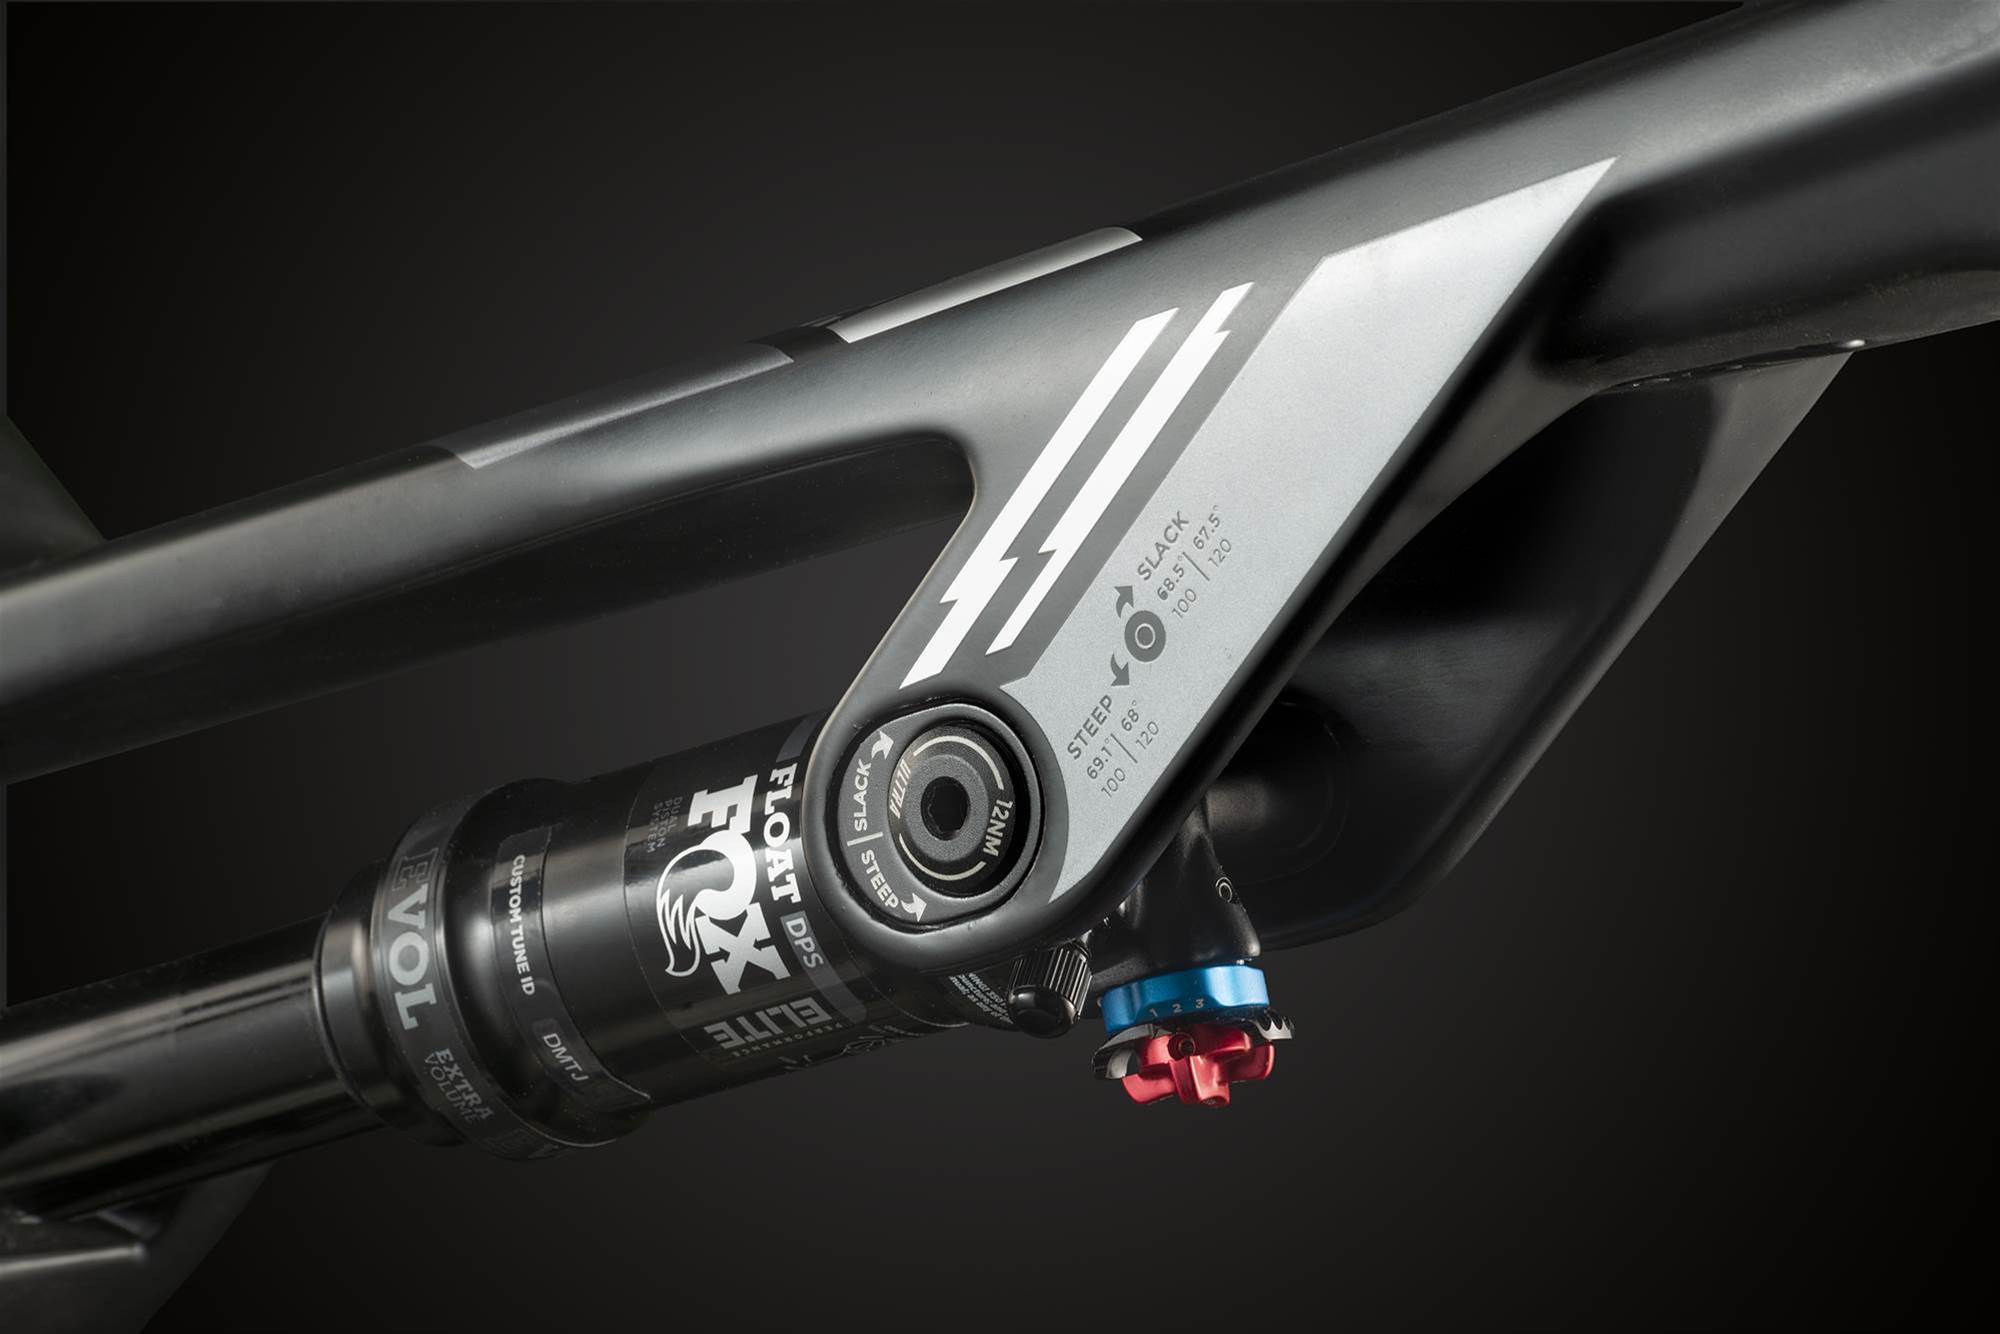
The reach is long, and the bike is designed to be run with a 40mm stem, although a 50mm stem also comes with the frame kit. With a long reach the idea is that the bike is super stable, but the short stem keeps steering input very direct, even if running the bike in the slack position with a 120mm fork, with a 67.5 degree head angle.
Momsen deliver the Vipa Ultra frame kits right from South Africa for $4189 RRP. You get a frame, shock, two stems and all the hardware required. After we received one to review, the next step was to built it up.
Building the Momsen Vipa Ultra frame
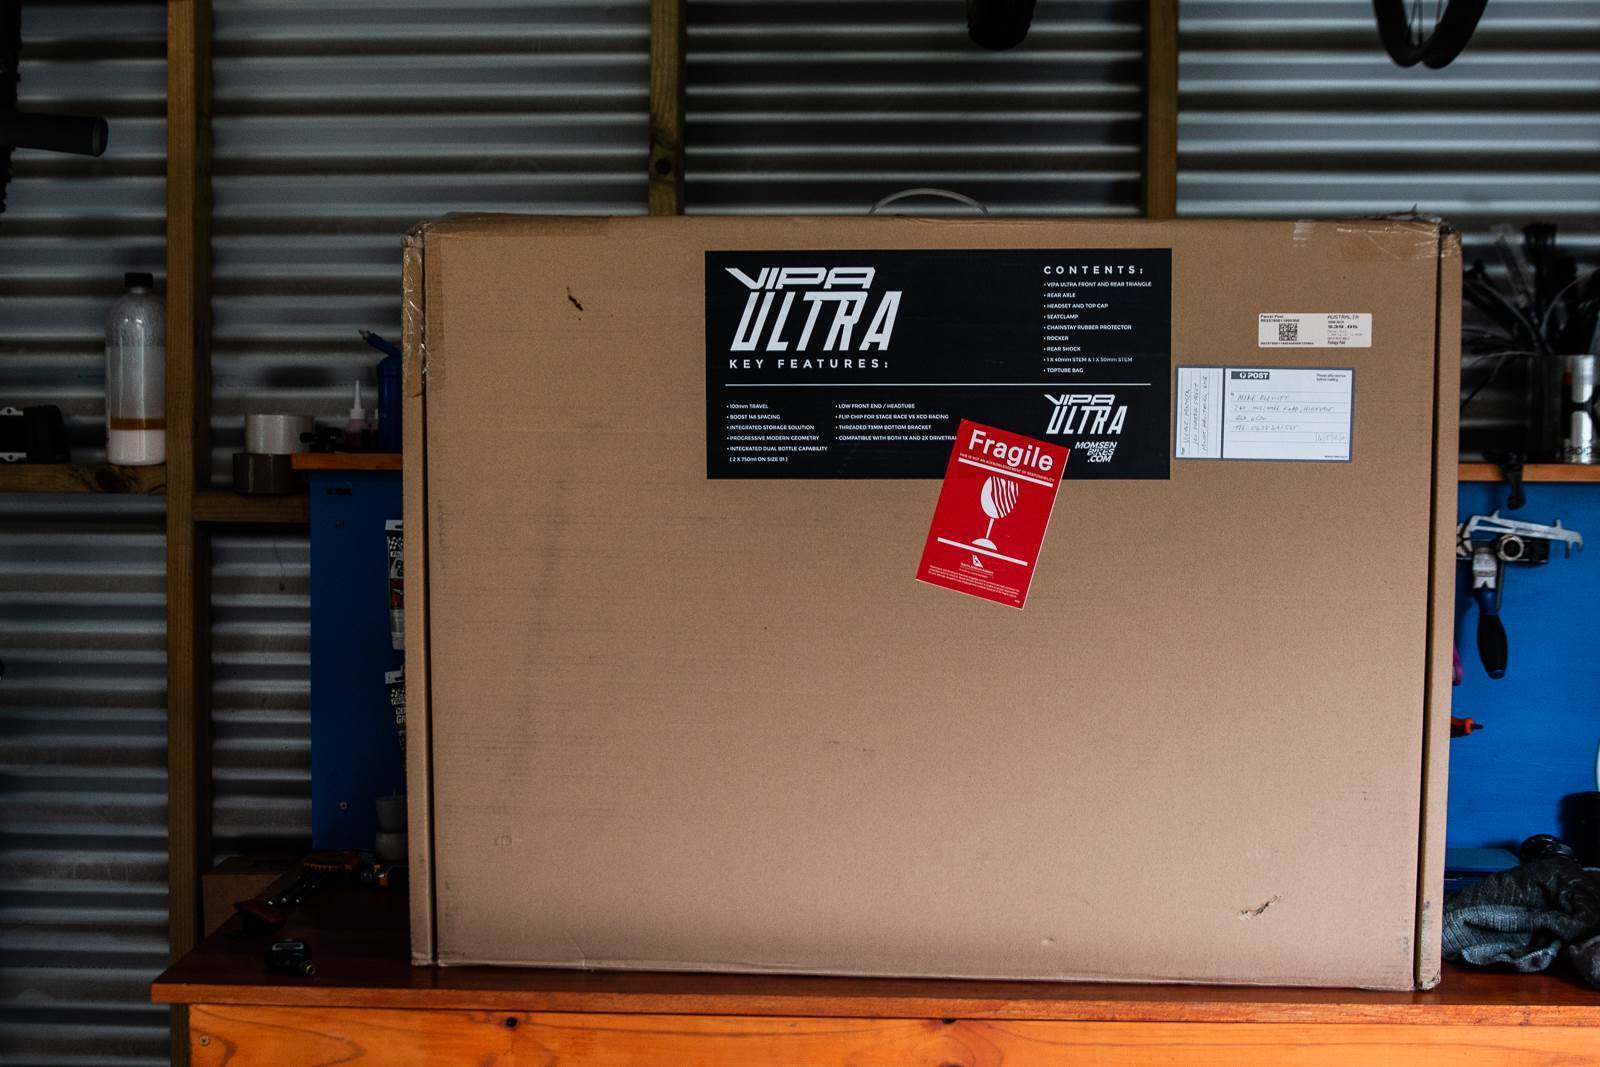
To save on freight (as that frame and shock price is a delivered price), Momsen send their frames disassembled. This makes a whole lot of sense, and given that best practice on any premium bike build is to take the frame apart and rebuild it so you know the bearings are greased and the pivots at the right torque – it actually just saves you time stripping it down to do this.
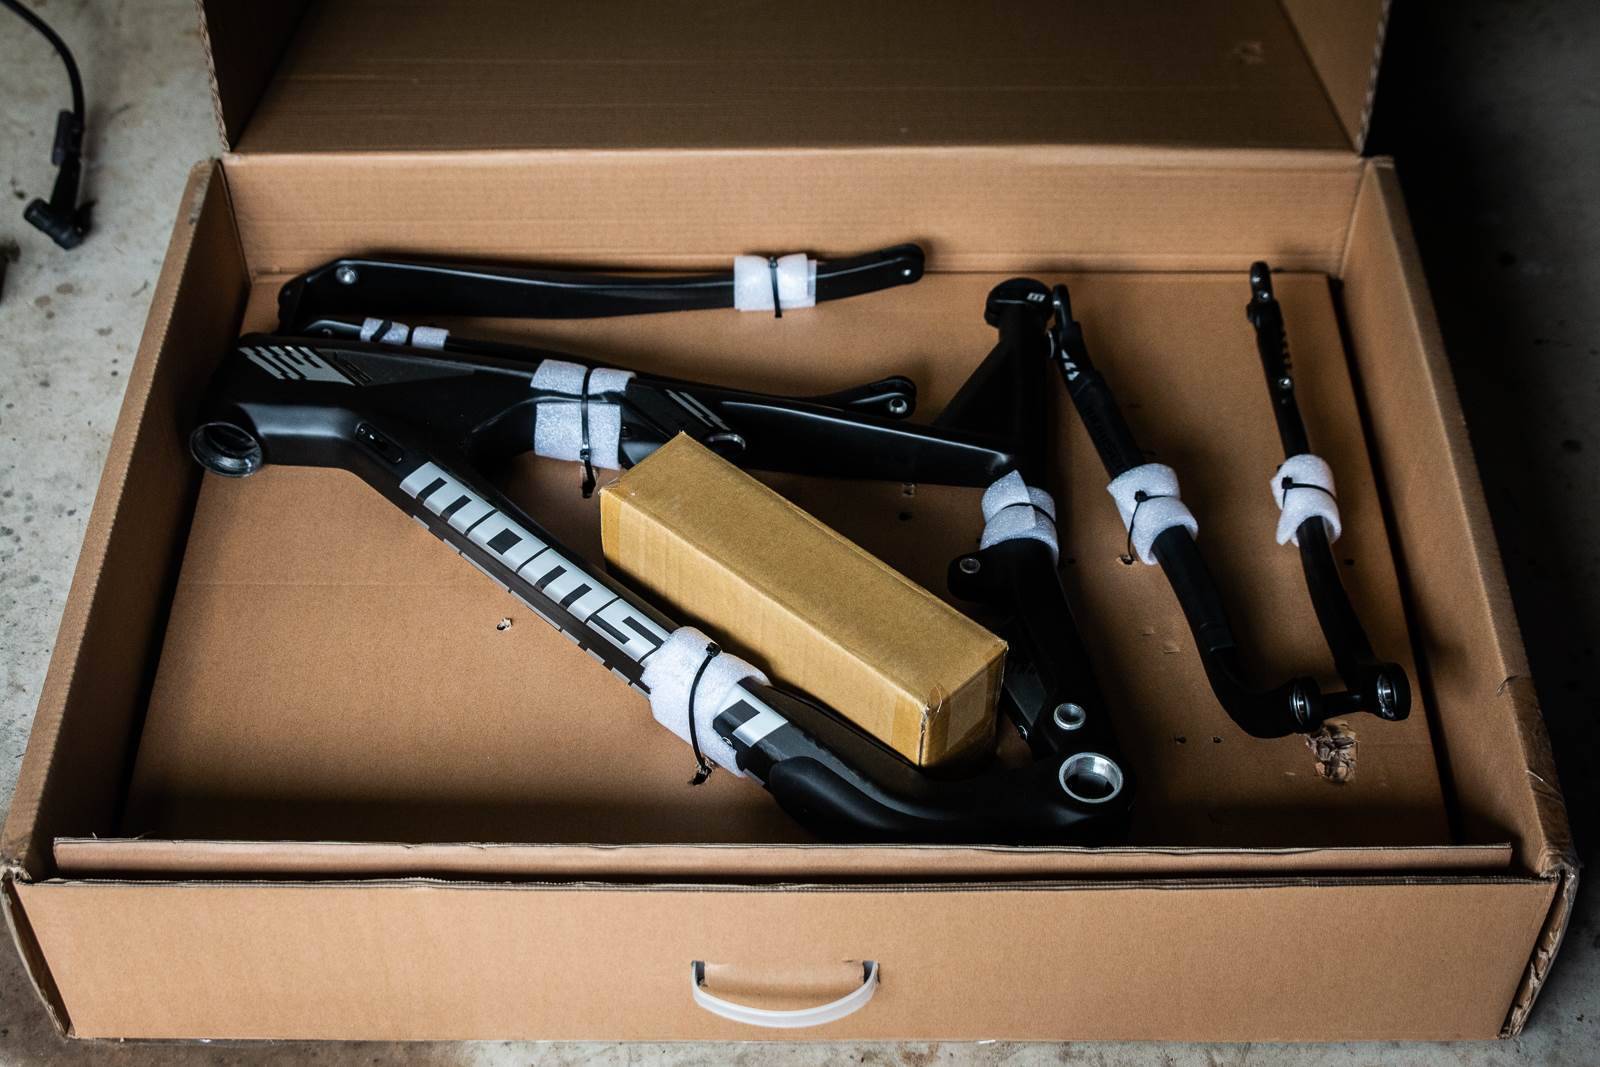
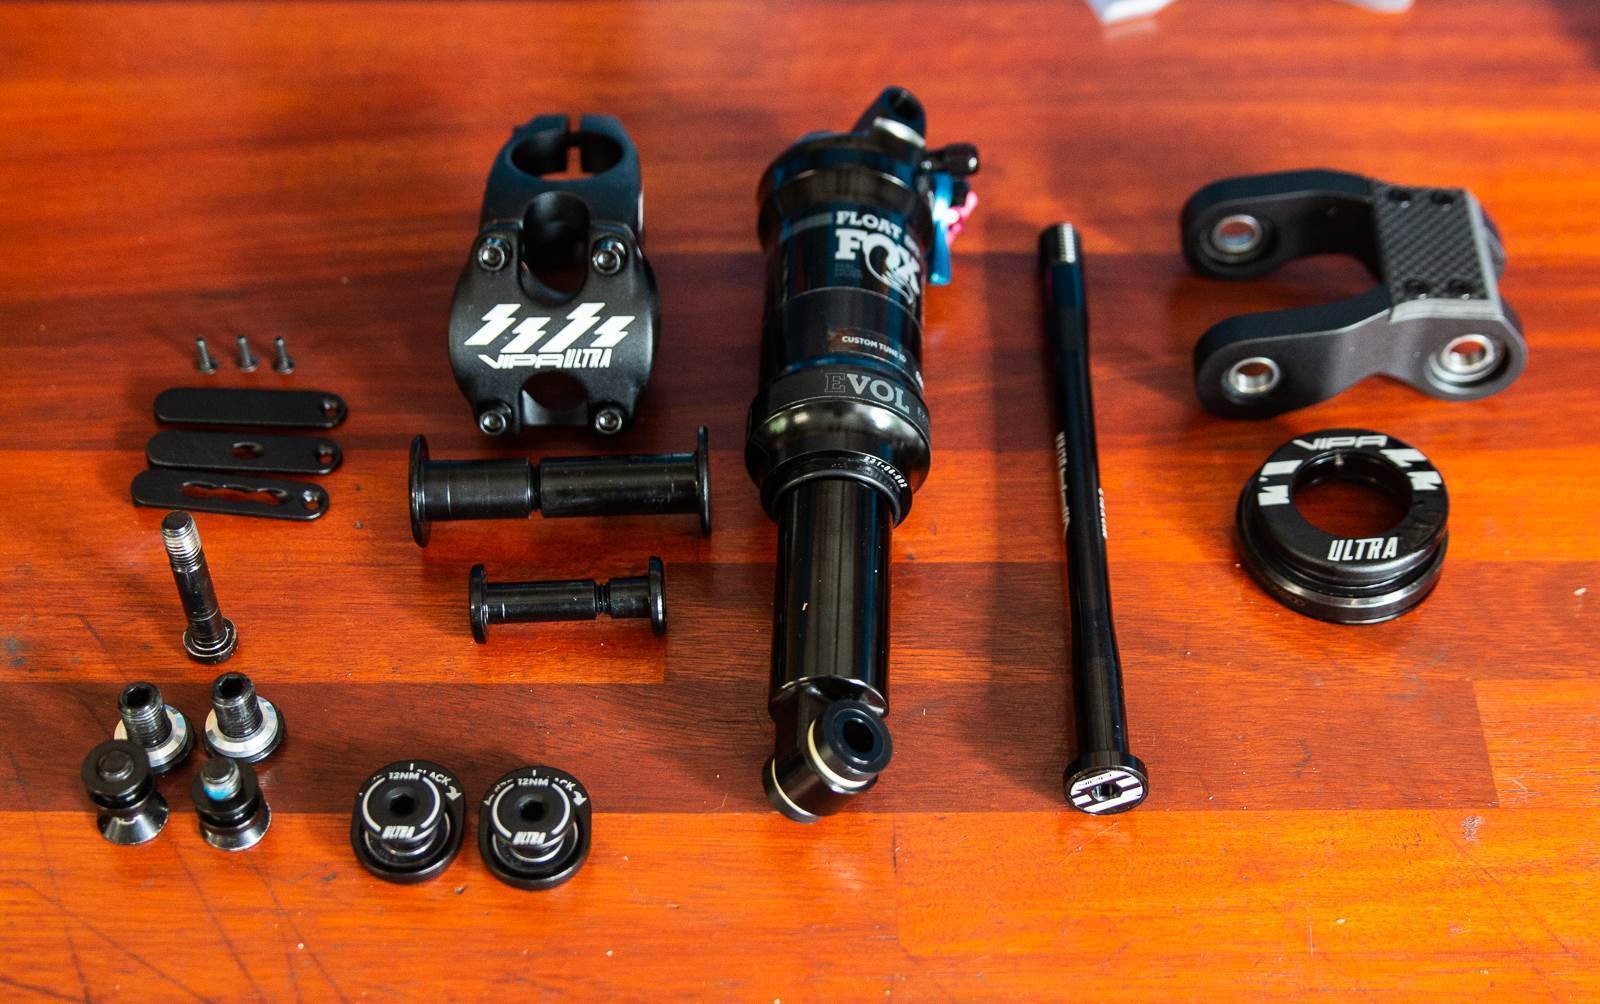
The frame kit comes with everything you need, including an instruction sheet on how to put everything together.
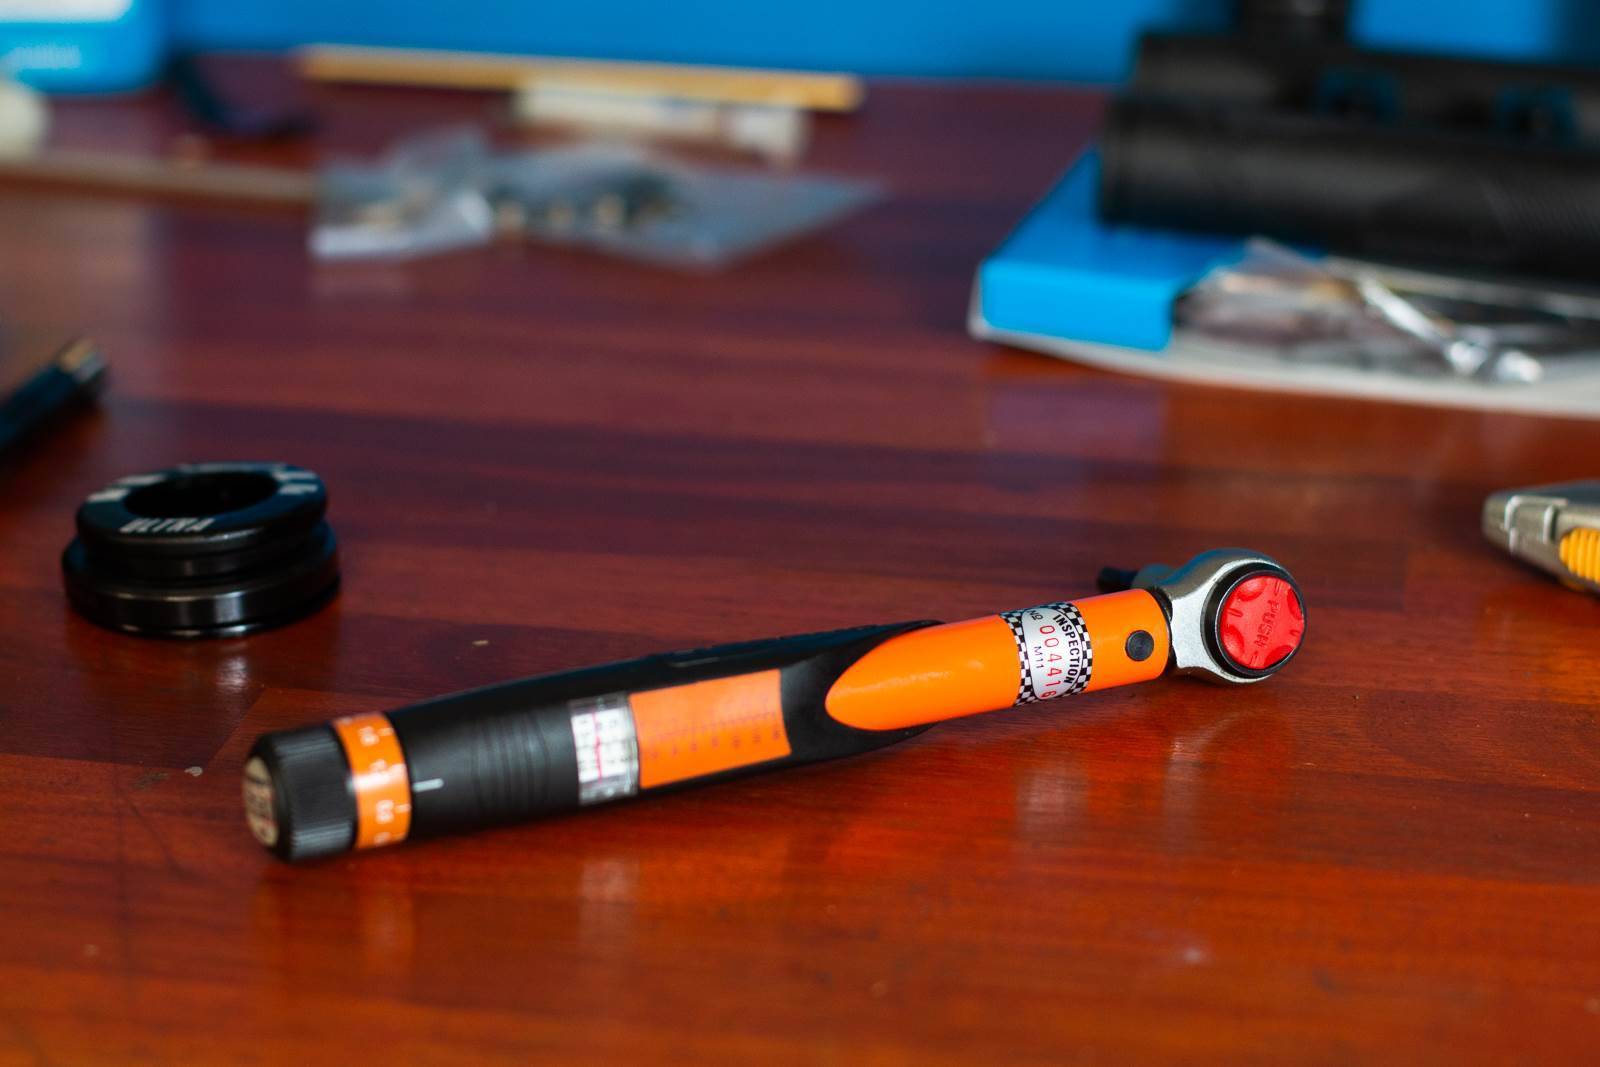
Like anytime that you're dealing with set torque ratings, it's best to use a torque wrench. Cabron bike frames and bits have set tolerances, as do just about any lightweight part or fastener. And here's the thing, even if youre not a weight weenie you still probably have light parts on your bike with set torque ratings – it's just how the bike industry works to make sure we have cool bikes. So getting a torque wrench is a sound investment!
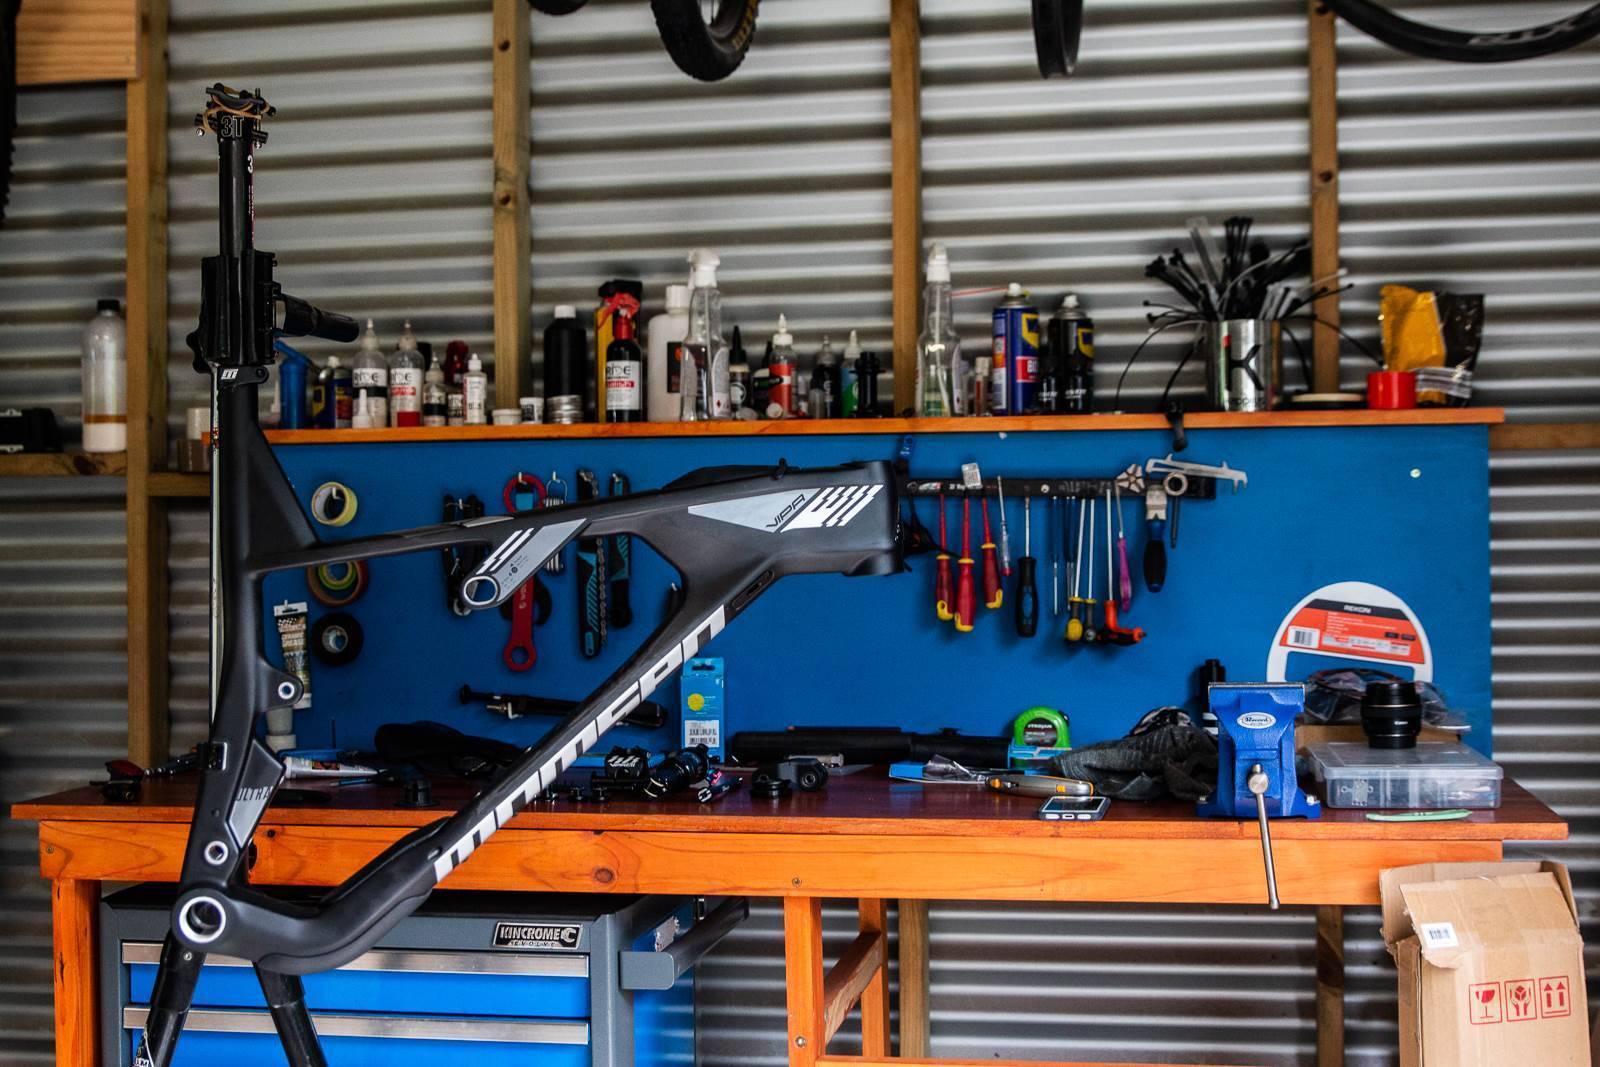
With all the parts laid out and the mainframe in the workstand, the Super B Torque wrench was a go-to tool. A workstand sure makes the job a lot easier.
Building the bike is pretty simple, but it does help to follow some guidelines that are available on the Vipa Ultra microsite. We used Ride Mechanic Bike Butter as an assembly paste, and learnt the hard way that the linkage should be attached to the seat stay swing arm before the swing arm is attached to the chainstay.
But, all said it was an easy task – if you were uncertain any bike shop could do it and as everything is clean and ready it's a cinch, and shouldn't take them long at all.
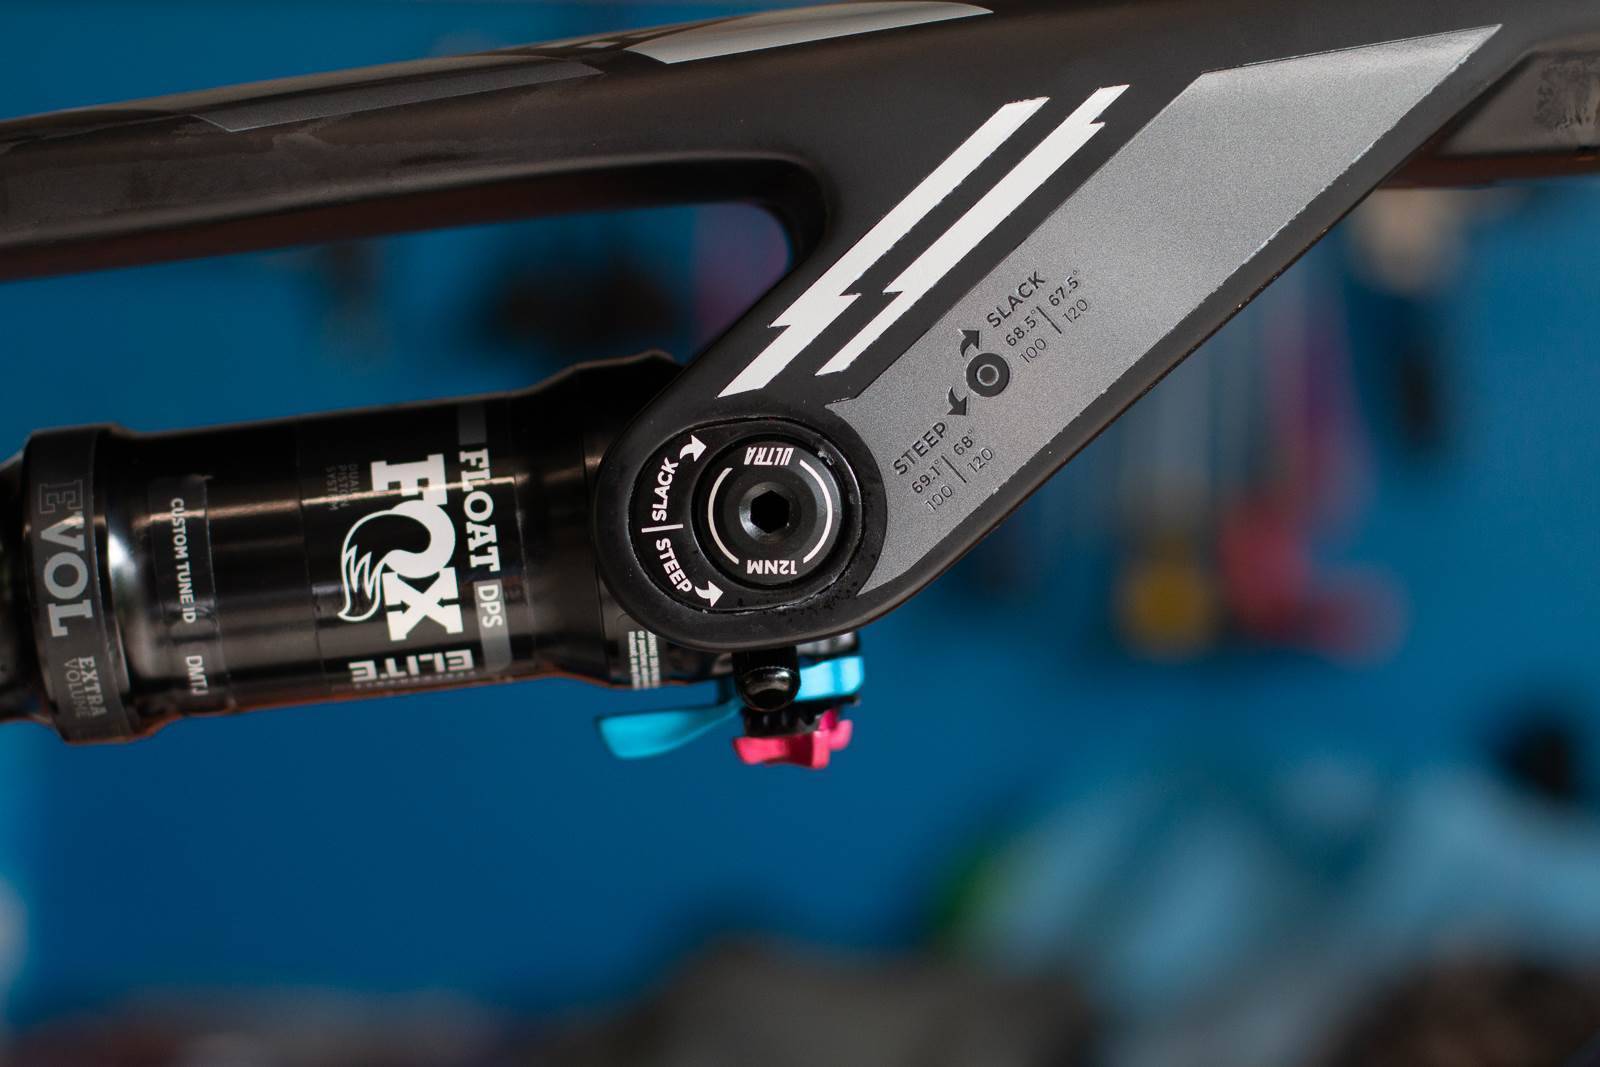
We set the bike up in the slack position to start – as we figured it is more fun that way.
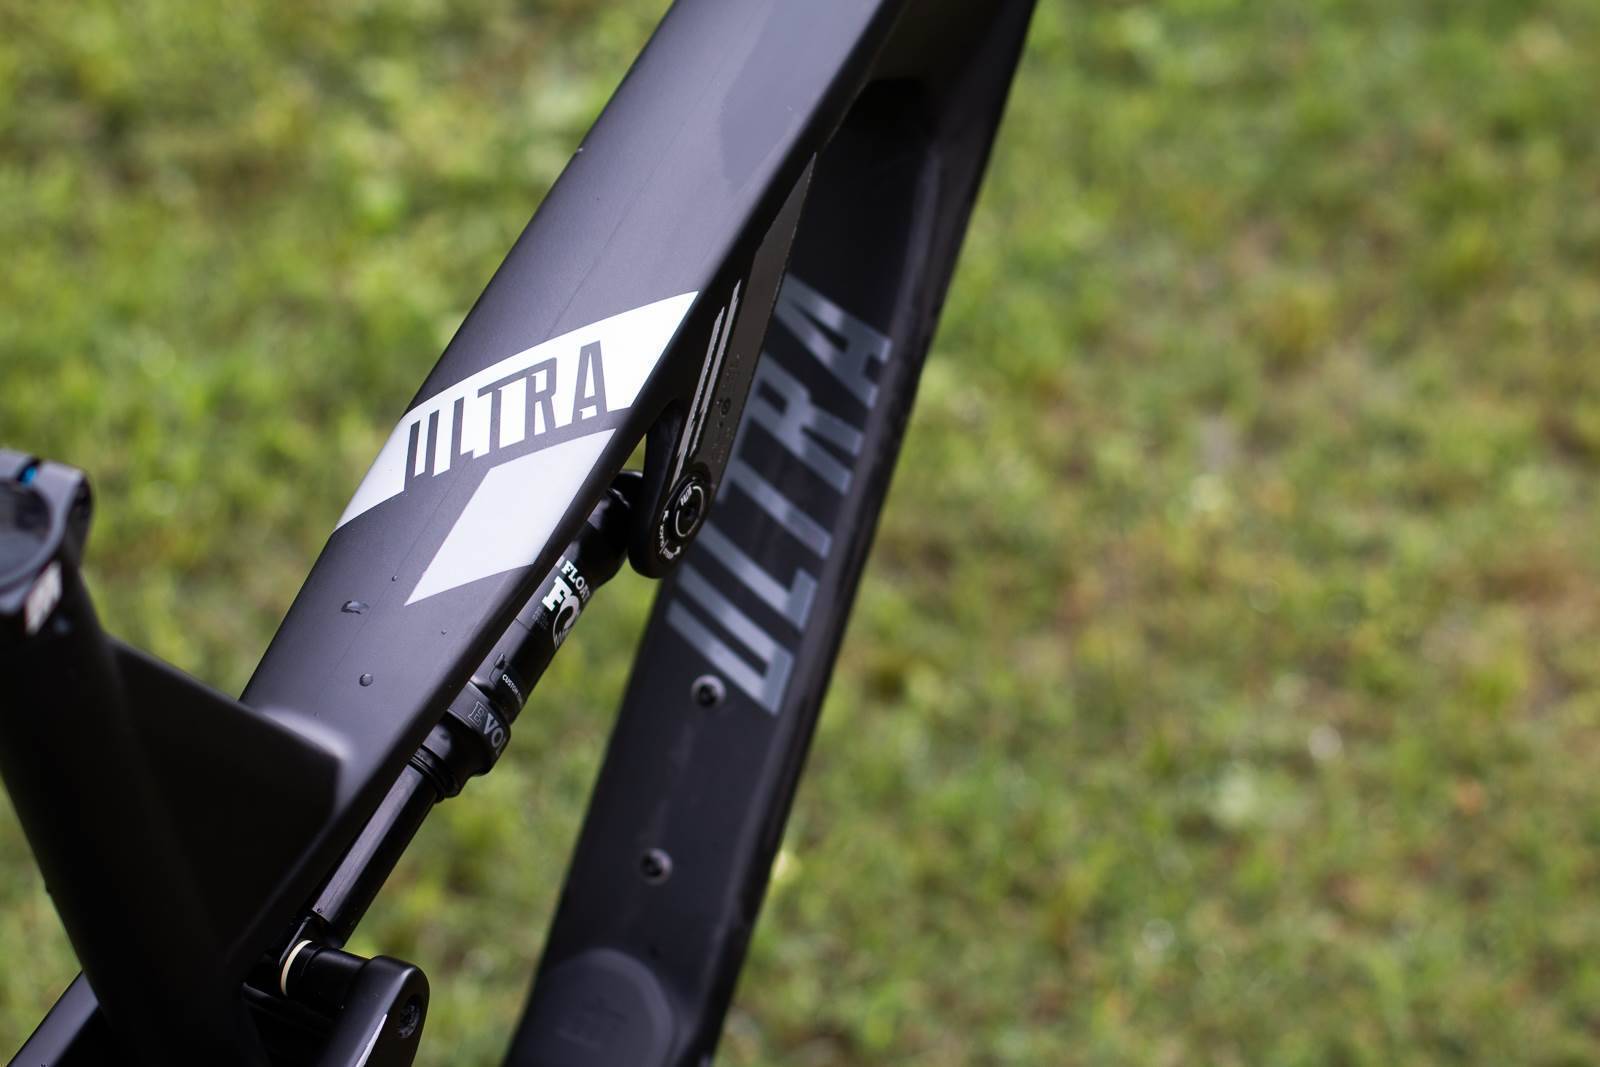
The whole frame looks super neat when built up, with the matte black finish and grey logos looking understated but cool.
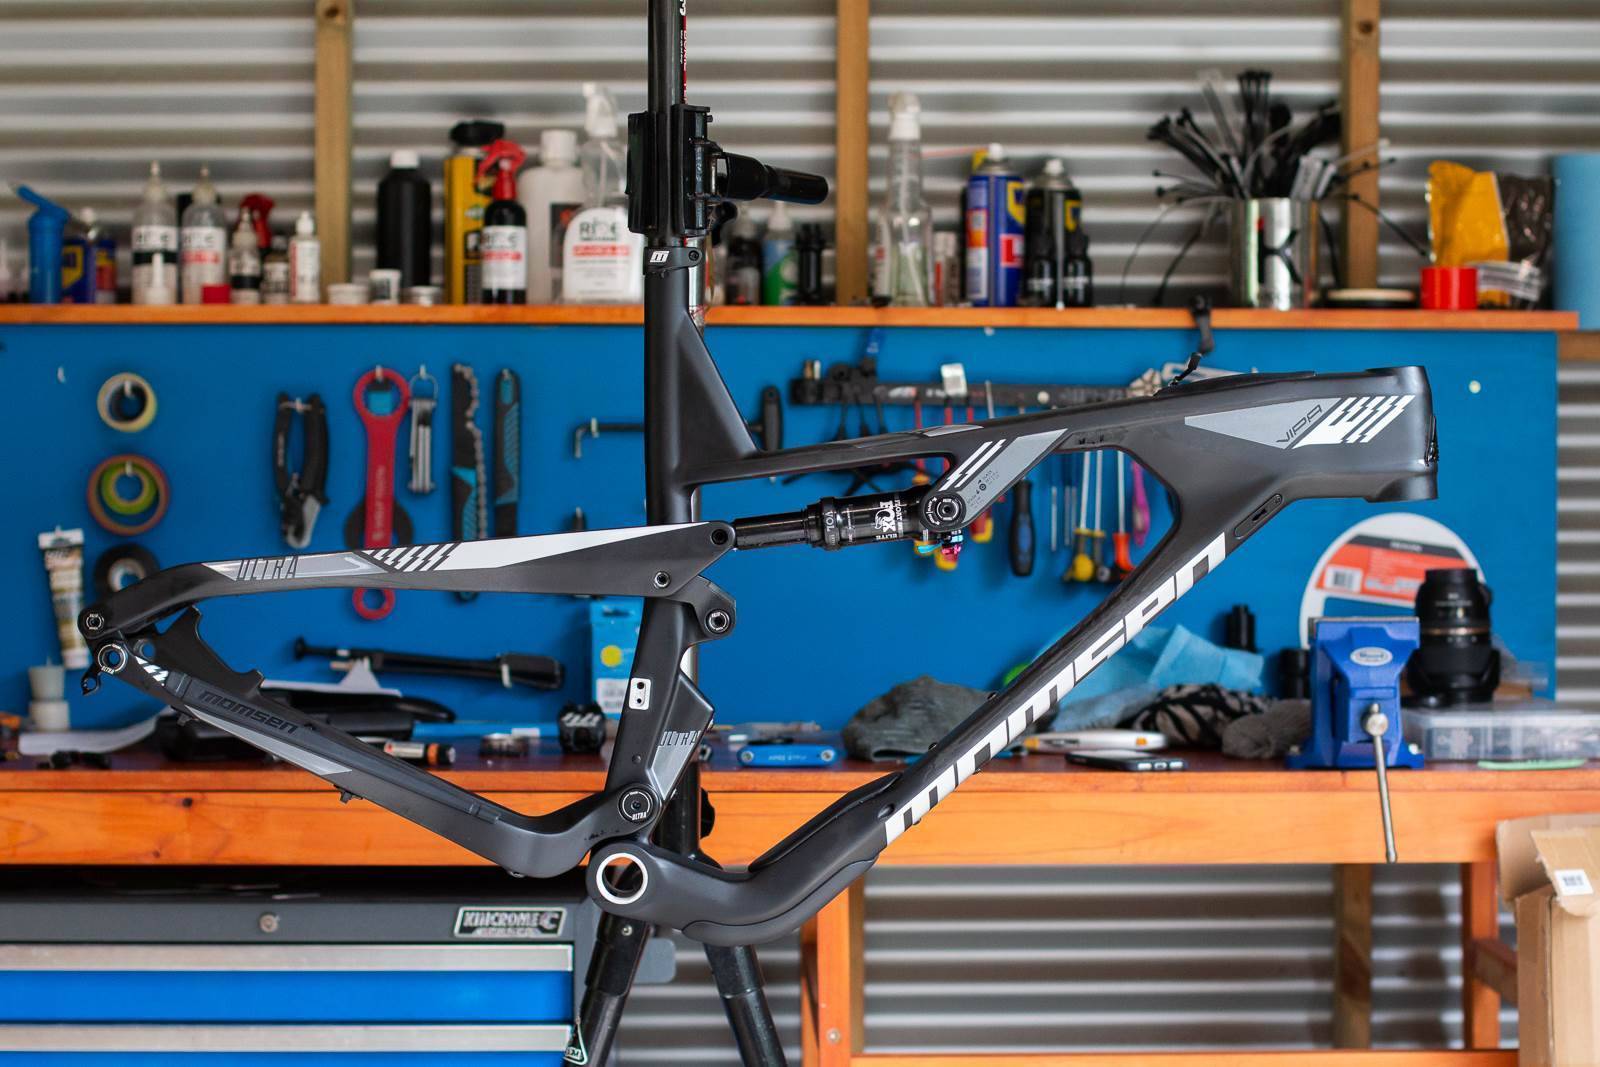

As the lower compartment sits so low, it suits things you don't need to grab quickly, and that weigh a bit more. To us this seems like the best spot for your multitool and maybe a light tube. A big tube won't fit.
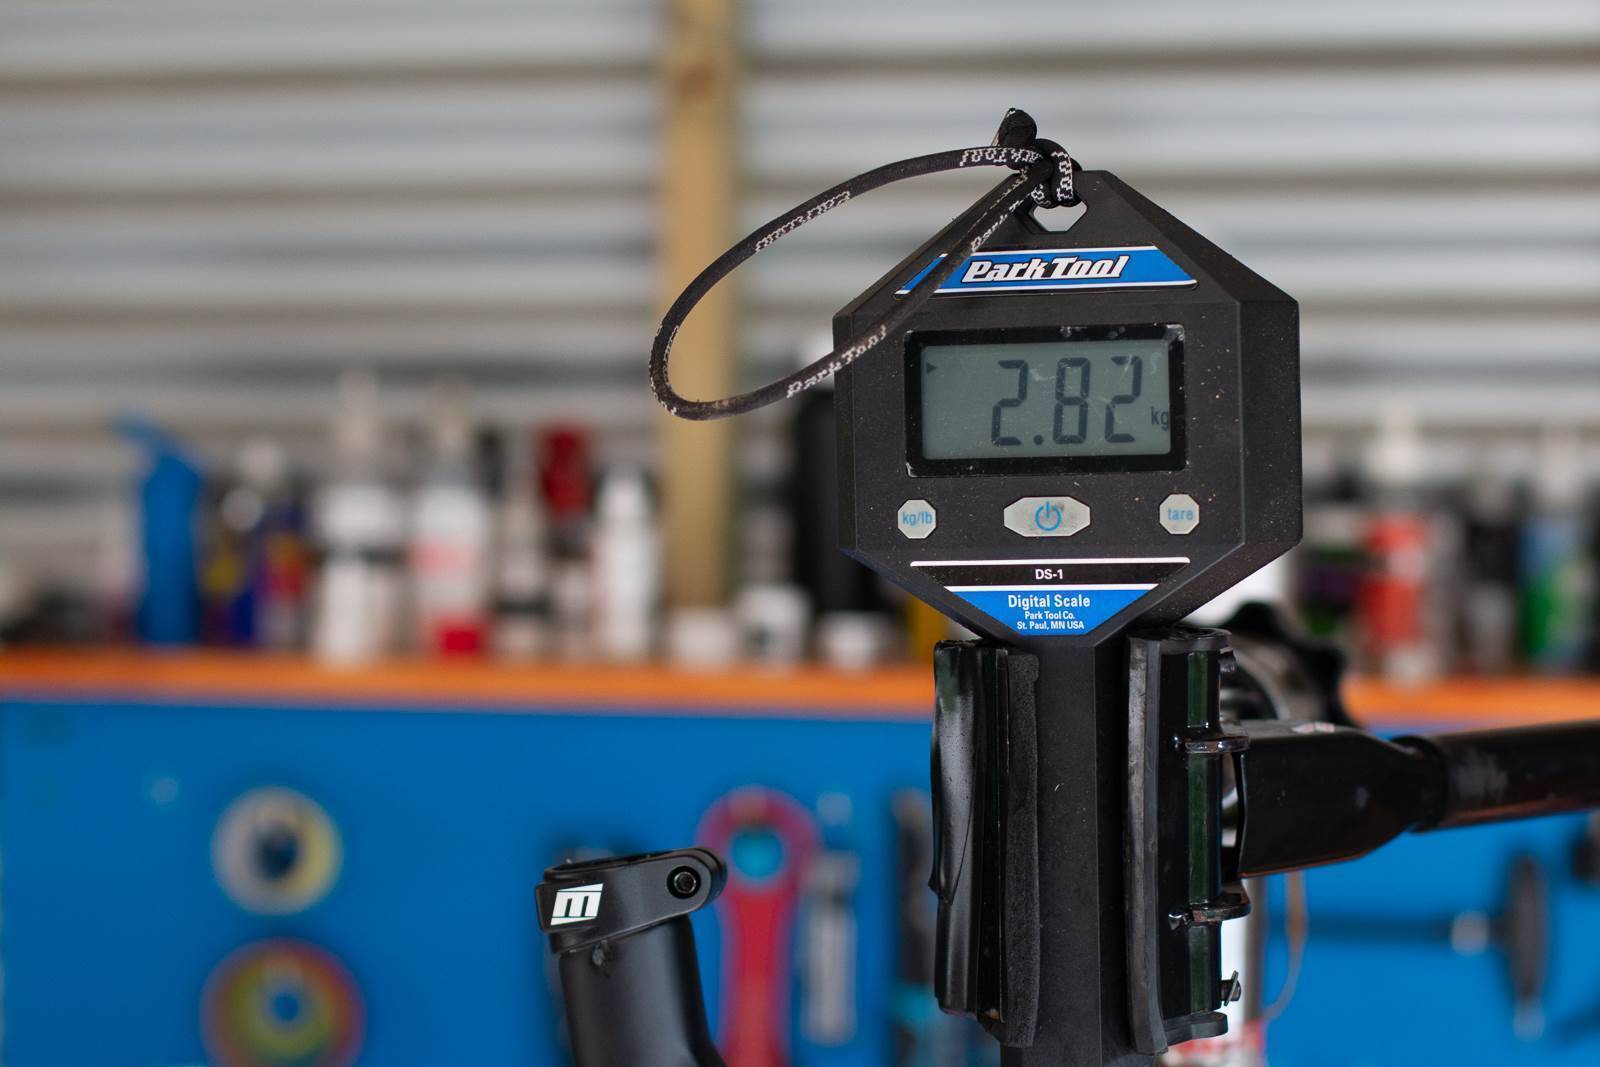
The whole frame kit tips the scales at about 2.8kg with the shock and cable routing hardware. This is without the headset though. A lot of the hardware isn't that light, using metal where some brands use plastic. This adds up but it does make for parts that last longer.
This frame is Size 2. There are only two sizes in the Vipa Ultra, as the frame length covers such a variety of rider heights.
Of course we can't really test a frame without parts, so the next step was to build the bike up with a component selection that suited the bike's intended use.
Building the Momsen Vipa Ultra bike
So what parts work for the Momsen Vipa Ultra? Well you have a lot of options, but the Fox 34 SC fork is a lightweight fork that is super stiff and a lot of fun, so that was the first choice.
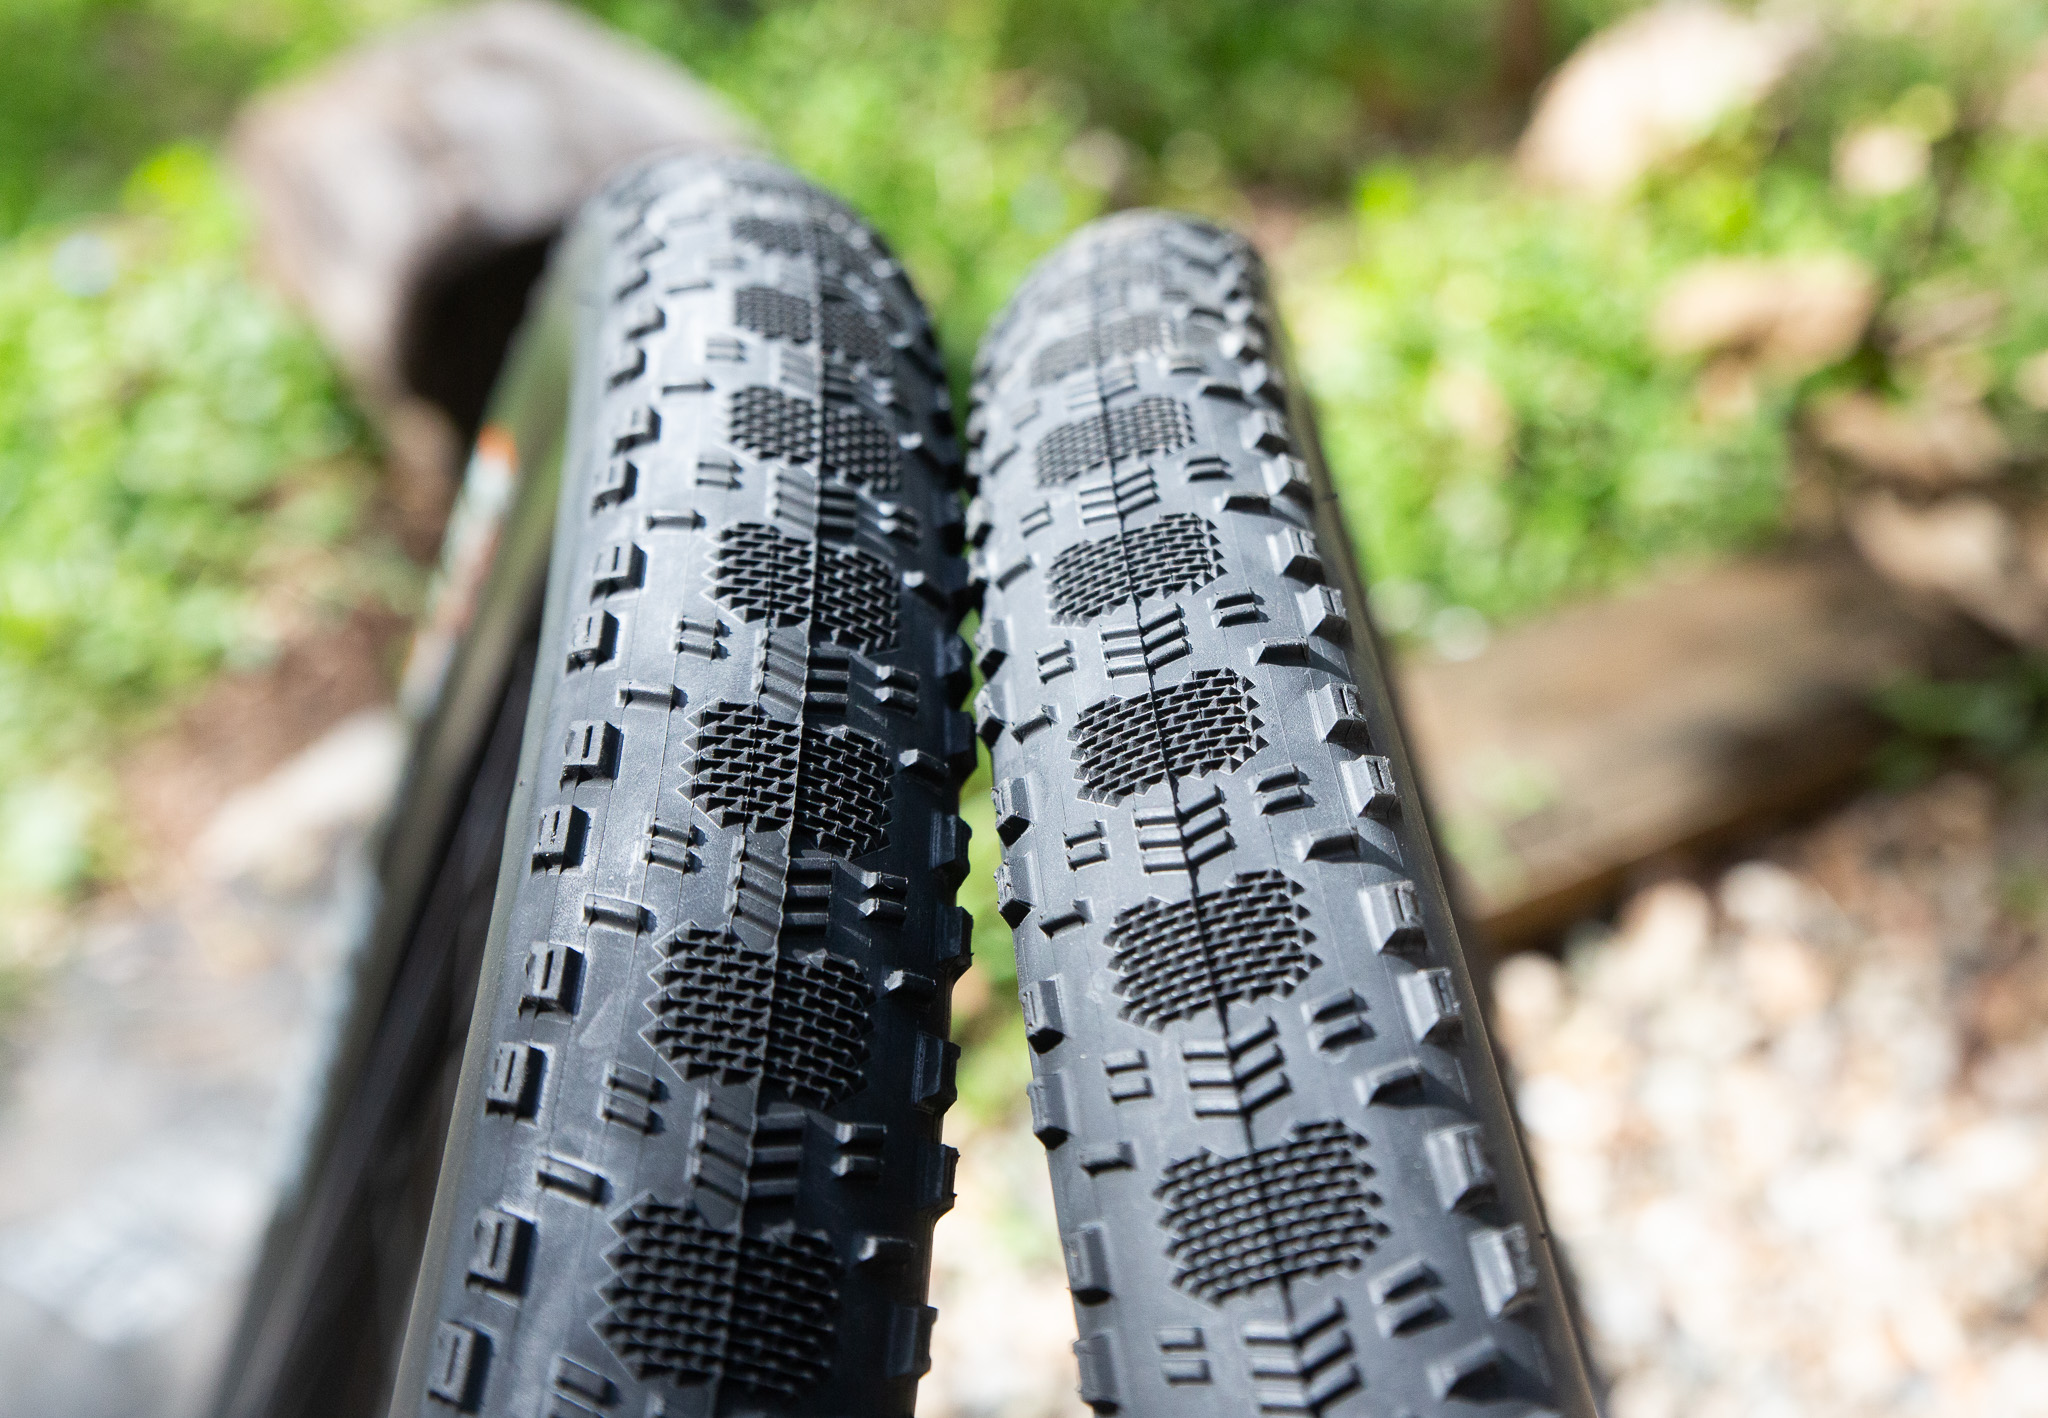
As for wheels, wide is right, so some 29mm internal EIE Carbon rims laced to 28 hole DT Swiss 350 hubs were making it onto the Momsen. Weighing about 1400g these wheels can support a wide tyre and low pressures. A Maxxis Rekon in 2.4" WT went on the front and although there is a Rekon Race out the back in the photos, it was subbed for a Maxxis Ikon in 2.35" for fast rolling and high volume.
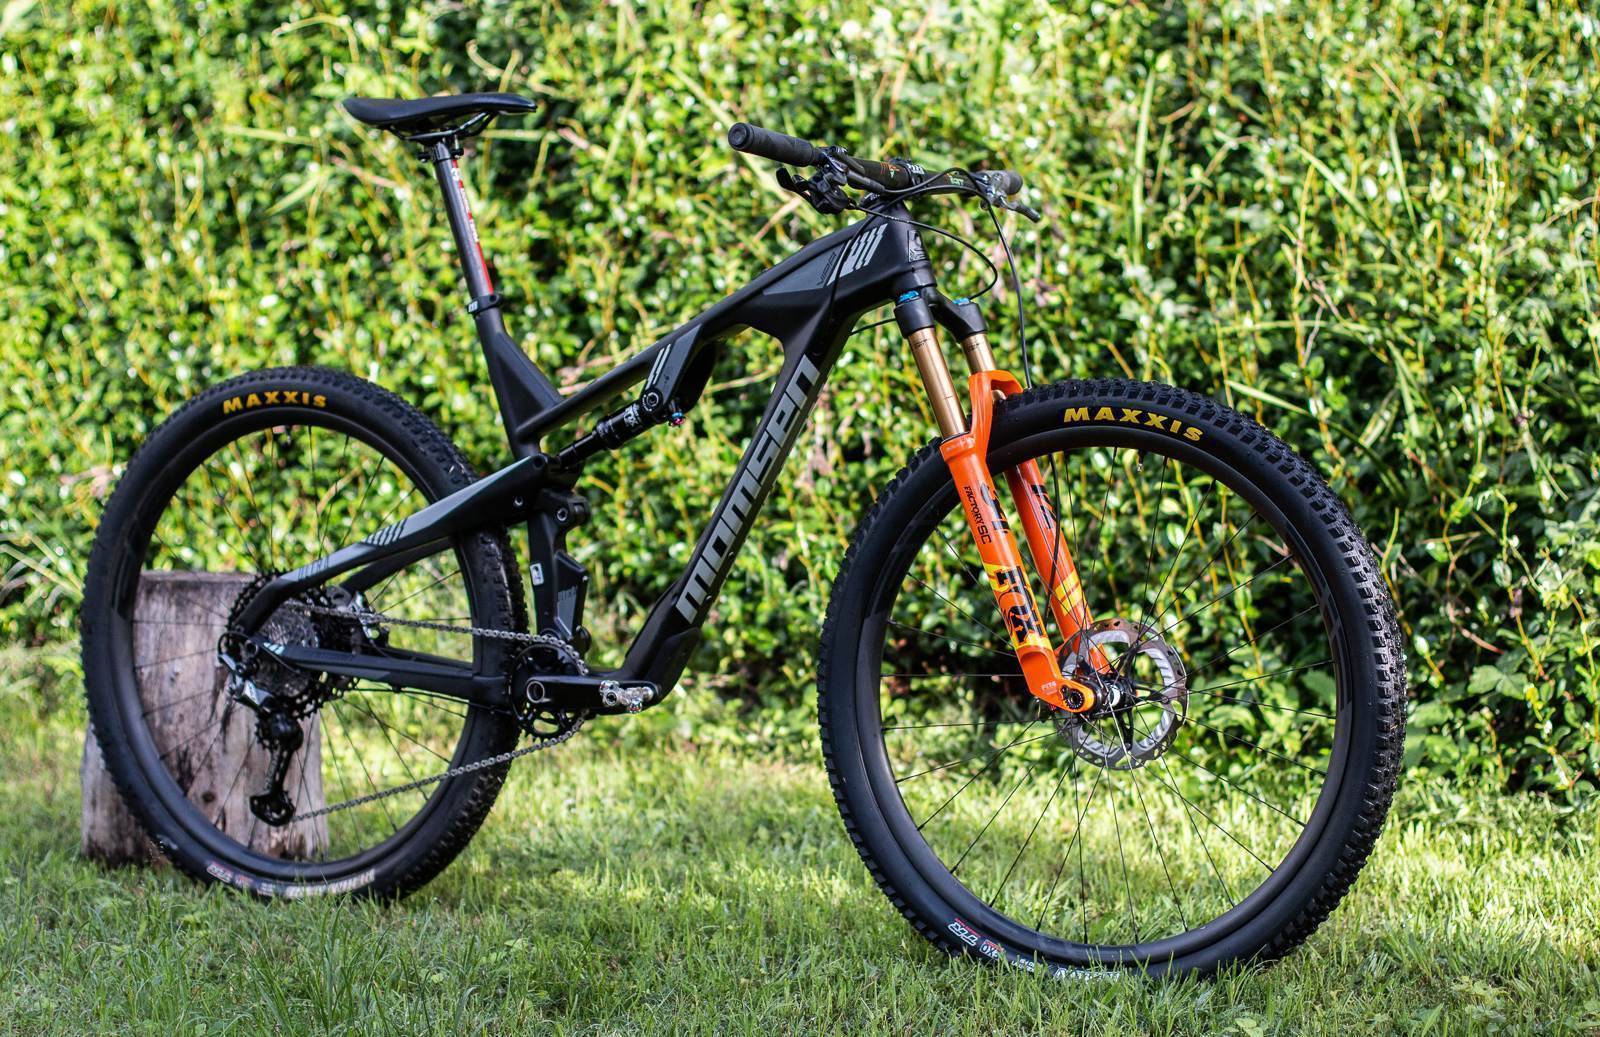
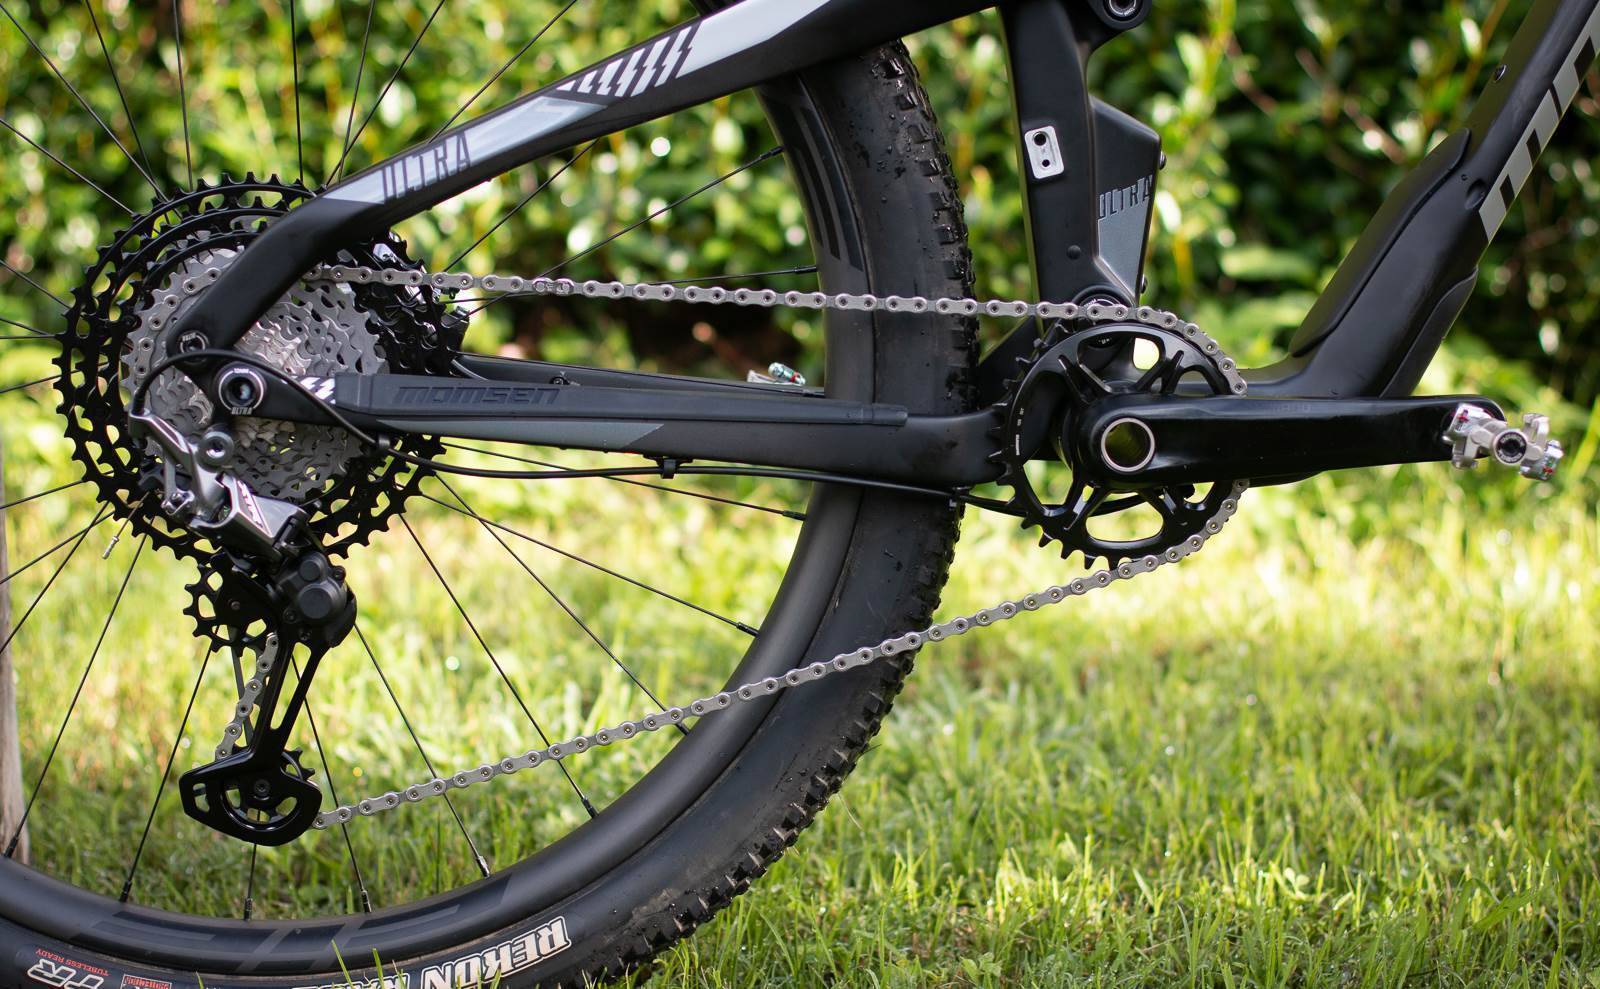
For the group set there was some indecision, until Shimano said they had a Shimano XTR M9100 group set for us to test! These have been thin on the ground as major fires in Shimano's factory knocked production around a lot.
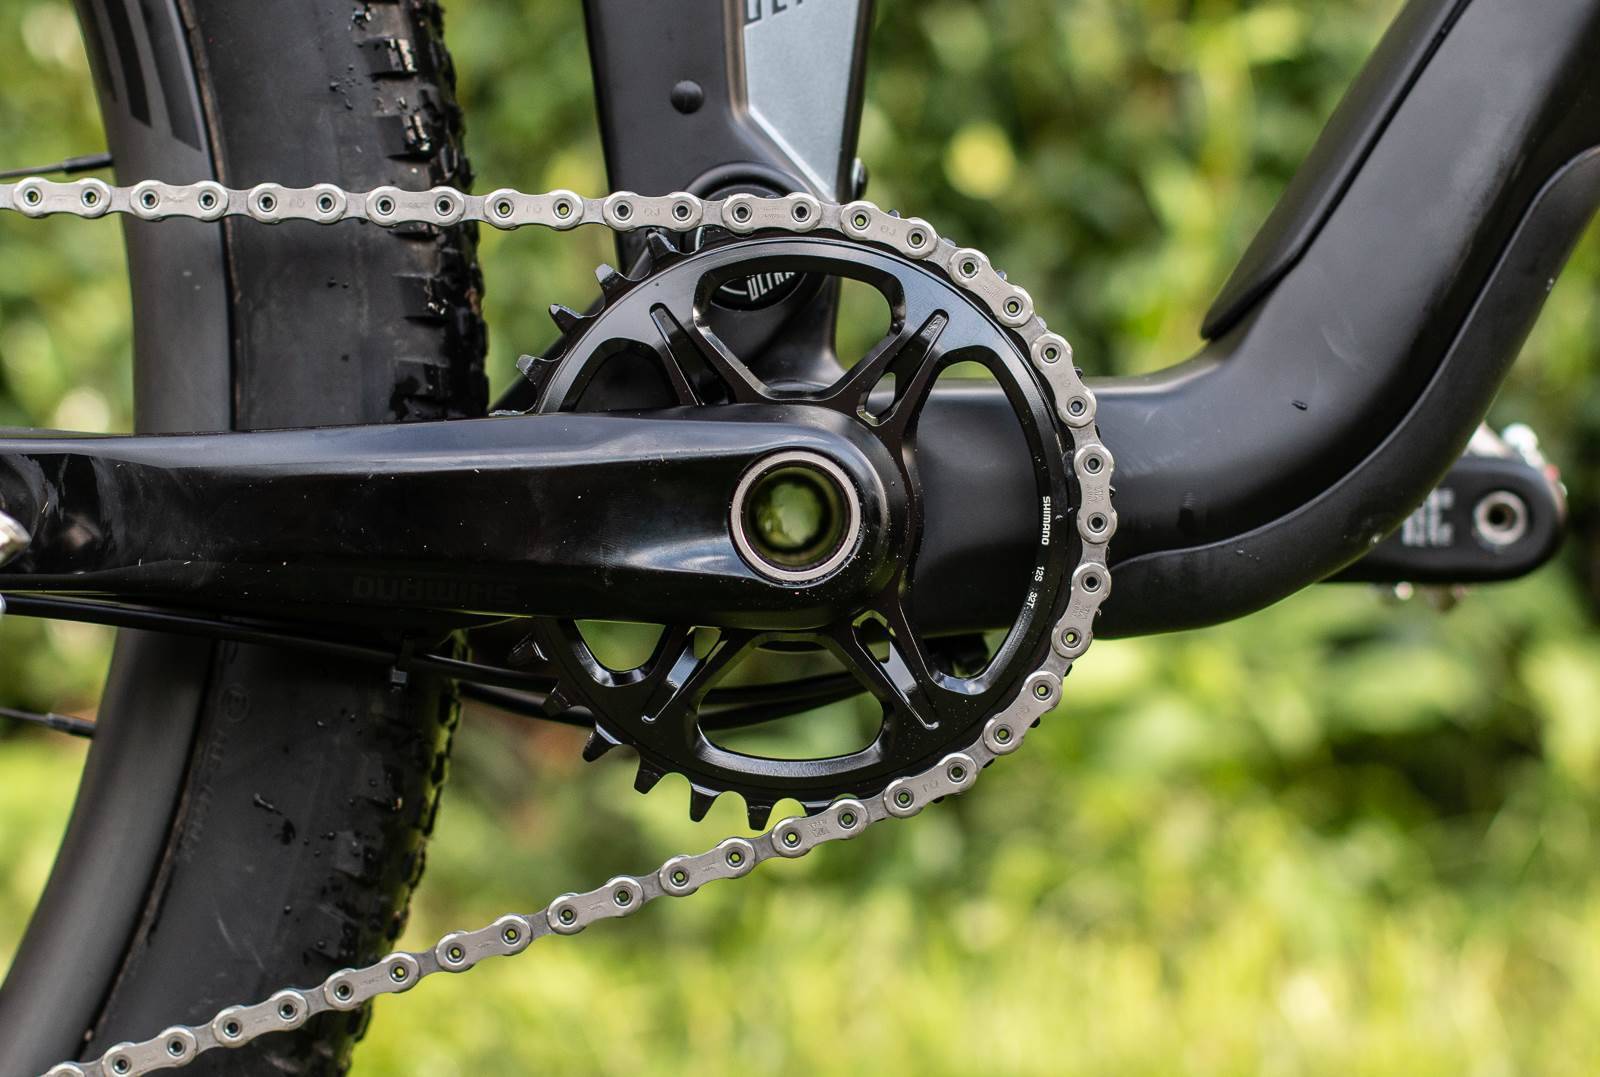
We opted for the Race brakes and the SGS derailleur with the 10-51 cassette. The cranks are the MT-900 unit – essentially the same as the last ones but with a direct mount ring. We hear that crank production of the new models was one of the aspects that was most delayed by fire.
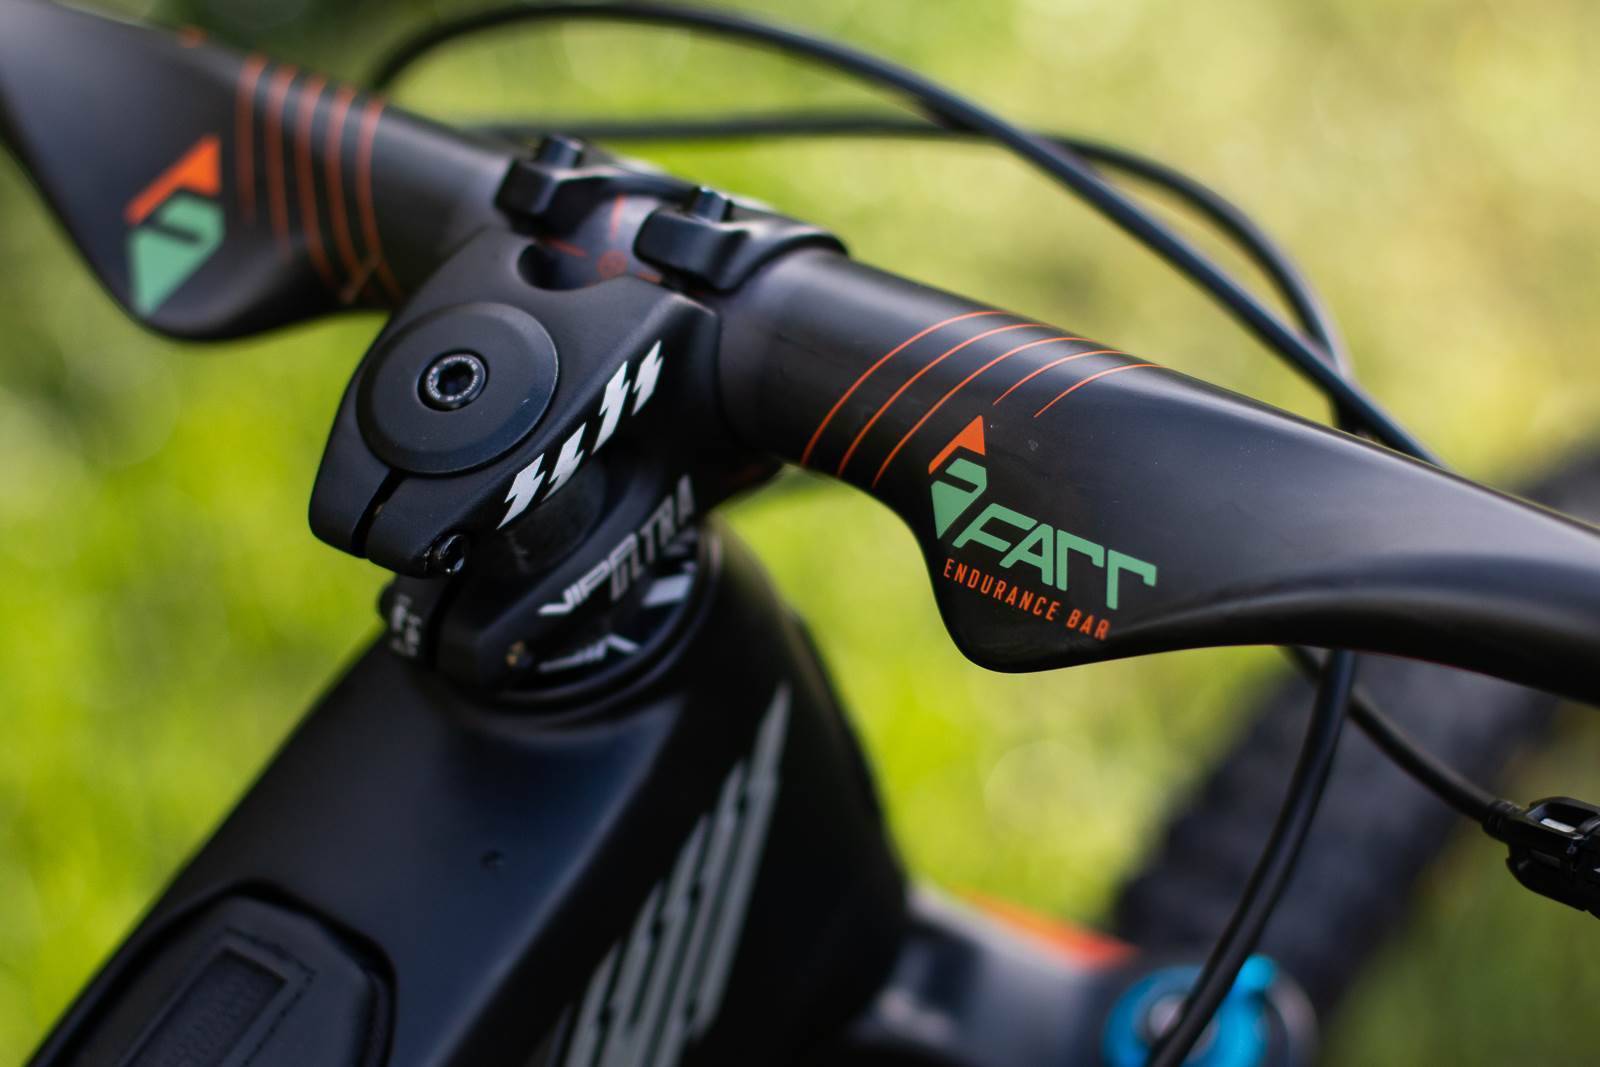
The cockpit was easy enough. We fitted the provided 40mm stem and kept the front and low and short as recommended. Then we fitted the Ride Farr Farr Barr that we tested last year. The bar adds an extra hand position near the stem, but otherwise has a good sweep and width.
The new Shimano XTR M9100 brake levers clamp further inboard, but the lever stays in the same place – basically it braces against the bar for a stiffer lever feel. Typically we found the XTR Race brakes didn't feel nearly as good as the Trail versions so let's see if this changes our mind. Some PRO slip on grips finished off the cockpit.
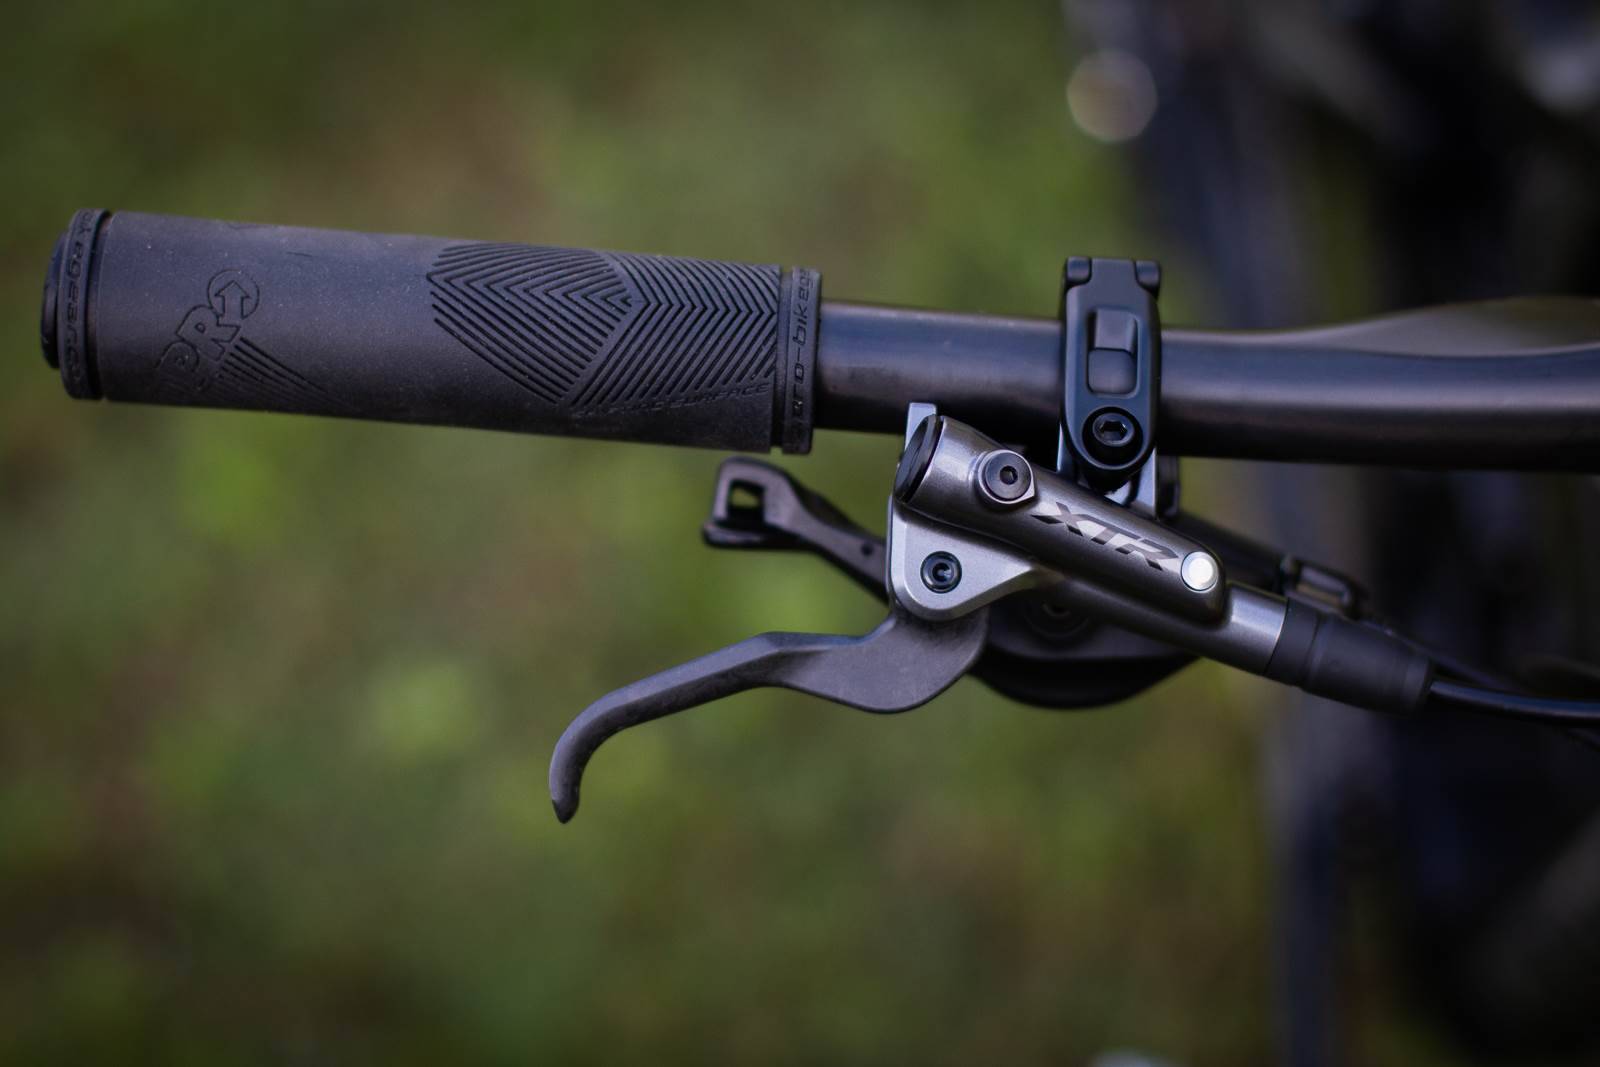
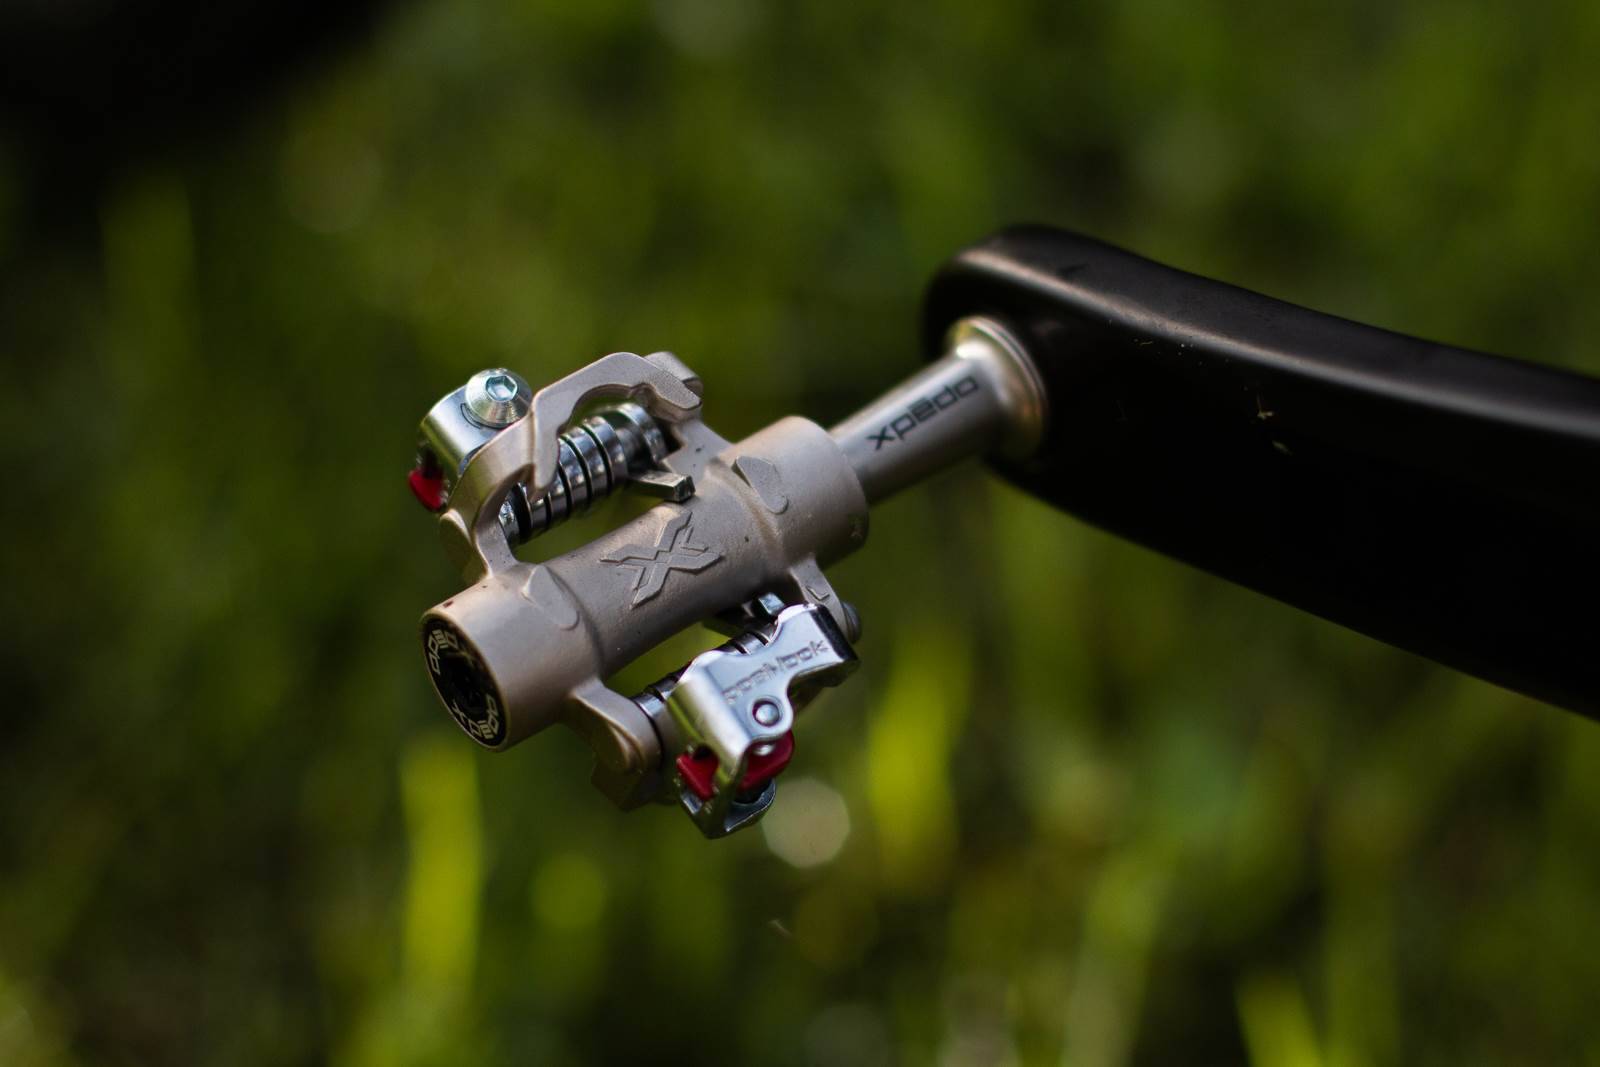
The bike looks sharp all built up – and some parts of the build were easy (thanks for the threaded bottom bracket shell!) but others were not so staright forward. The internal routing was a bit of a nightmare without one of the tools to help. With the ports beyond finger reach from the head tube or bottom bracket, it did take some precise torch shining and work with a customised spoke to latch onto the outer or hose. So far we don't have a dropper post fitted, and although this bike is screaming for a light weight unit the thought of internally routing another outer is off-putting.
And while the cable port covers have options for one, two or three hoses or outers (or none) and are made from metal, they don't really retain the housing, so we are anticipating some trail noise inside the frame.
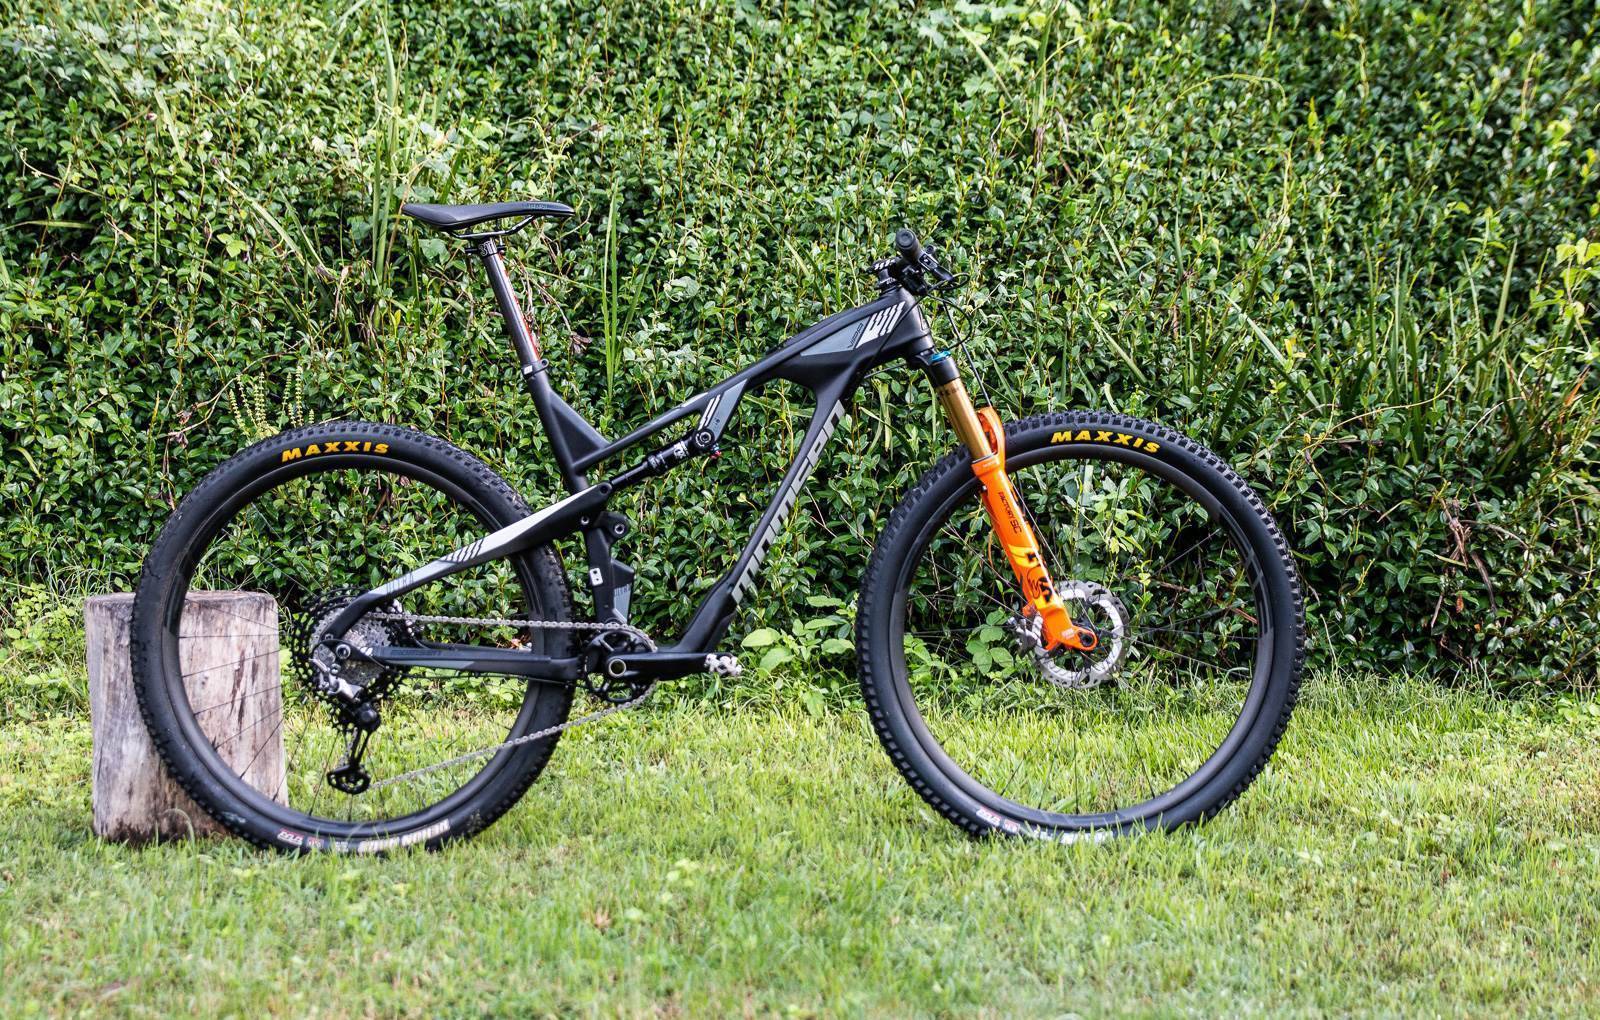
But will the ride of the bike win us over? That can only be found out one way – so we just need to hit the trails. As it stands this bike is about 11kg, and that's with a 34 SC fork and big tyres. We'll finish the build with a dropper and check back in – catch our full review of the frame in Issue #176.
If you never want to miss an issue – why not subscribe?

