The Shimano DI2 Project
We’re nearing on 2 years since Shimano first announced their XTR Di2 group set.
We’re nearing on 2 years since Shimano first announced their XTR Di2 group set. With the XTR M9000 and M9050 (Race and Trail respectively) launched first, it wasn’t a huge secret that electronic versions would follow.
And while Di2 has rapidly been accepted into the road and cyclocross world, it’s been a little slower in the mountain bike sphere. The group set has quite often been seen on Shimano sponsored racers such as Dan McConnell and Bec Henderson. But more recent builds we have seen have shown the versatility of Shimano’s flagship group. You only need to look at the Trek Remedy of Enduro National Champ Chris Panozzo, to see Di2 being used to offer a competitive edge in other disciplines.
We have been planning a build with Shimano, working on creating a bike that uses Di2, as well as a few newer trends in cross-country bikes and trail bikes, to see if we can build something that blurs the lines between the two without giving up any performance.
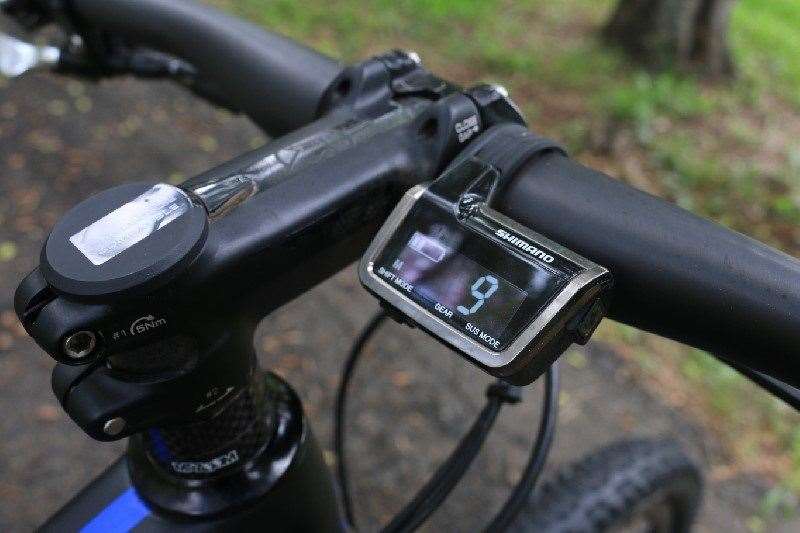 Heads up! Ok it’s not quite a heads up display but it’s very useful.
The Build
We based the build off a Norco Revolver 29 full-suspension frame. It’s not a full Di2 routed bike, but this model is new for 2016 and features a combination of sharp handling, light weight, efficient suspension and some great lines that just begged to have a high-end build put onto it. With 100mm of travel with a rising rate, a short back end, long front end and short stem, it rides confidently going down, climbs really well, and feels like it has more travel than it does.
The frames are 1x specific, which makes sense given the current trends, especially with Shimano announcing a new 11-46 cassette in March.
Thanks to the internal routing in the main frame, we were able to direct the cable through the downtube, porting in with the dropper post – more on that later.
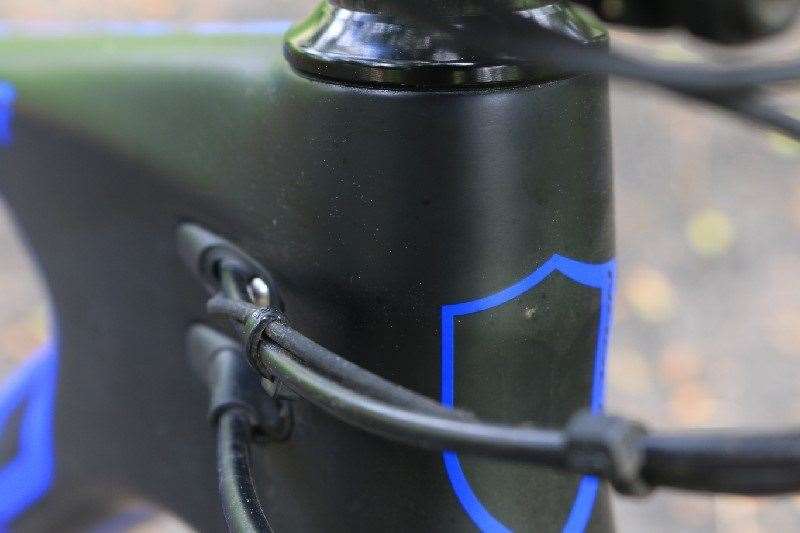 The cable follows the dropper post outer into the frame.
To keep the cockpit clean, we used the PRO Tharsis XC carbon handlebars with Di2 ports (so cables run inside them) and their stem with a specific top cap. This means that the cable runs through the bars from the shifter, and into the stem, and out to the computer display. The battery sits inside the steerer, and the cable also runs through the stem to the computer. A third cable then leaves the computer to go to the rear derailleur. It’s a bit fussy getting it all setup compared to a single cable for a 1x system. But once it’s done – it’s done.
Given the construction of the frame, and cable lengths, we had the cable pop out of the port above the BB shell, and into a junction box, which is purely being used as a connection. While we could have hidden the box internally, and only had the cable exiting for the rear derailleur – this should keep any repair or external cable replacement much easier. There will be no need to remove the cranks and press fit BB92 bottom bracket to do so.
The final cable has been wrapped against the chain stay, and reinforced on the outer loop. This isn’t as neat as full internal routing – but that’s the option with a Norco Revolver. Without using a drill.
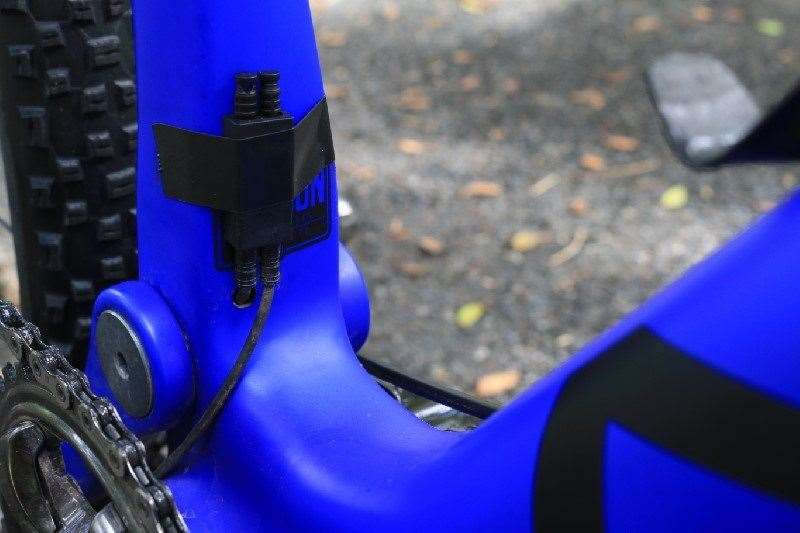 The junction box sits externally. We could have hid it in the frame but this makes servicing the back of the bike easier.
Dropping into the future
So you’ll notice we have added a dropper seat post? This might seem ‘non-XC’ but a few brands are bringing light weight, short travel dropper posts to the market. I saw plenty of professional riders using them at the Swiss Epic last year, thanks to the sustained steep and technical descents. And while a dropper can usually bring a pretty hefty weight penalty that pure XCO or marathon racers wouldn’t like – this KS Lev CI model uses a carbon lower, lightweight cable and outer and internal routing to provide 65mm of drop. It’s not heaps, but it does make a difference. The total weight of this setup with a South Paw lever was 480g. So maybe a 300g penalty over a very light seatpost.
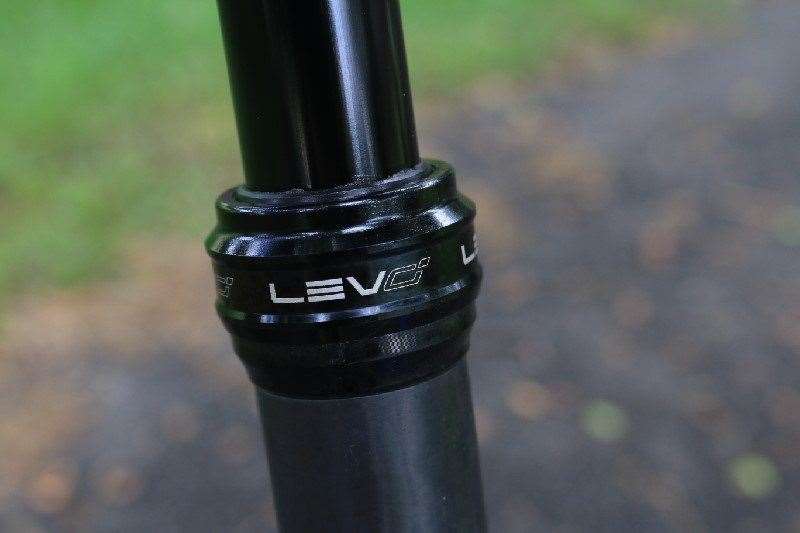 The KS Lev Ci has a minimal weight penalty – and hey Absalon uses one.
Carbon wonder wheels
The wheels and tyres on the Norco are turning some heads. While it seems everyone is making a carbon mountain bike wheel these days, Shimano’s XTR Race wheels are still a carbon laminate over an alloy rim. They’re strong, stiff, have excellent hubs… but they’re not as light as some of the competition. Shimano did announce their full carbon tubular mountain bike wheel in late 2013 though – and that’s what we have here. At 1280grams – they’re light. The hubs are standard XTR hubs, although the hub shells are for straight pull spokes. There are 28 spokes and the rims are for disc brakes only, and for tubular tyres.
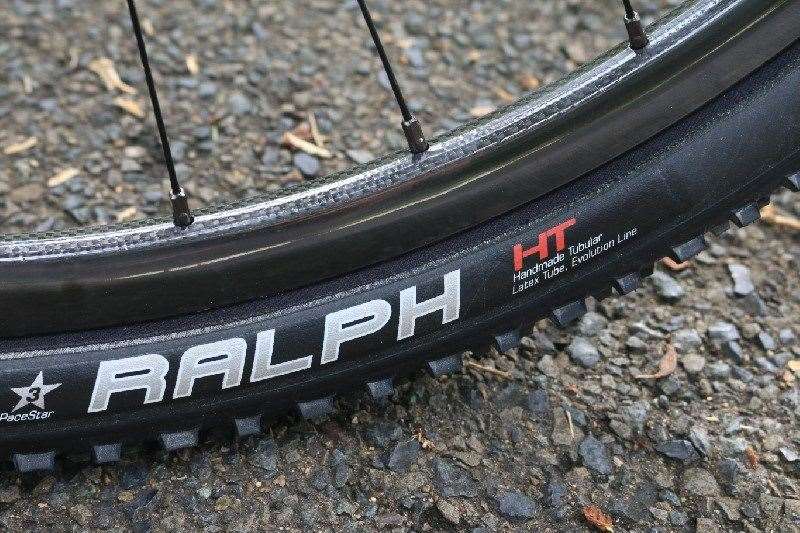
Tubular tyres are a one-piece cotton casing, with the tread stuck to the outside, and a (typically) latex inner tube inside. The casing is glued to the rim, and the benefits are lower rolling resistance to a tubed option, lower weight, and the ability to run some very low tyre pressures.
The Schwalbe Racing Ralph is a trusted racing tyre, and the 29×2.0” size we have is skinny, but at about 595g they are very light.
The problems with a tubular tyre are obvious – if you flat, what do you do? I have raced tubulars on the road and in cyclocross races, and the feel is amazing. They are very supple. But I’ve also flatted tubular tyres in road races and cyclocross races. Without a team car, your race is pretty much over.
But, a glued tyre does stay on the rim. A flat tubeless tyre or tubed tyre can pretty easily come off. So the ability to ride on a flat tubular to a tech zone in an elite cross country race is an advantage.
The total wheel weight is good, but not too different to my standard setup of NoTubes Valors with Maxxis Ikon EXO tyres and sealant. However, as the tubular rim is so light, and the tyres are a bit lighter too – the wheels do noticeably accelerate faster, and the faster engagement of the XTR hub compared to the NoTubes 3.30Ti is also apparent. With this build finalised just before printing – you’ll have to look to AMBmag.com.au for further thoughts and ride impressions.
The ride
The XTR Di2 setup replaced my XTR mechanical group, so it’s been really easy to form some initial impressions. Firstly, I think it is hard to go past the XTR M9000 group – given the smooth shifting of a well-adjusted mechanical setup. However, the Di2 setup does offer some advantages, mostly race situations and less-than-ideal conditions.
The load at the shifter with a mechanical group set is greatly affected by how firmly you set the clutch, your cable routing, and the condition of your gear cable and outer. With a Di2 group, while you still set the clutch and B-tension for shift feel – you have a motor that does the hard work. It shifts in mud, in the dry, the wet – degraded cable or muscular fatigue from continual shifting isn’t a concern. Does whinging about a sore thumb sound precious? Well consider the amount of times an athlete like Jess Douglas might shift in a solo 24hr race. It adds up.
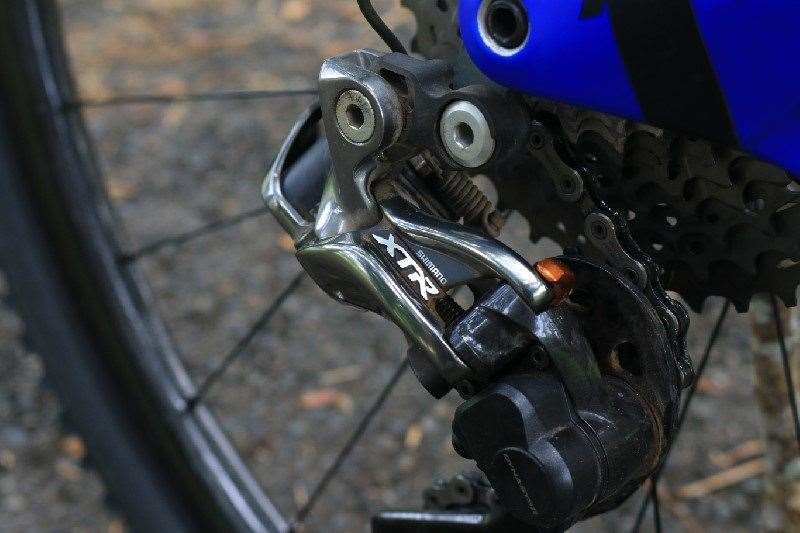 It looks similar to M9000 at a glance, but the shift is so easy, so smooth. Every time!
While XTR does shift beautifully with the XTR 11-40 cassette, wider ranges are coming. The newly announced 11-46 is compatible with XTR, but with greater B-tension on the rear derailleur required for the top jockey wheel to clear the largest sprocket, a harder shift is inevitable. Unless you have a little motor doing it.
Getting into the groove with Di2
The location of the shifter paddles, and their orientation, means it’s like going back to RapidRise – but this can be custome tuned. The position of the levers is also more inboard than I would like, but again you can move them in and outboard. And those little white TOGS (Thumb Over Grip System) I have been trying out aren’t quite as useful with the Di2 shifter– as there’s less space for my thumbs to go!
Having the dropper post has been great – and as it’s a cable operated system removal and fitting is less arduous than a hydraulic setup. This means I can fit it when it’s needed and remove it when it’s not. The South Paw lever was an out-of-the-box upgrade as it mimics the action of a shifter, although it takes some serious tightening to stop it moving on the bar.
Don’t miss our full review in Issue 155, out 21st July.


