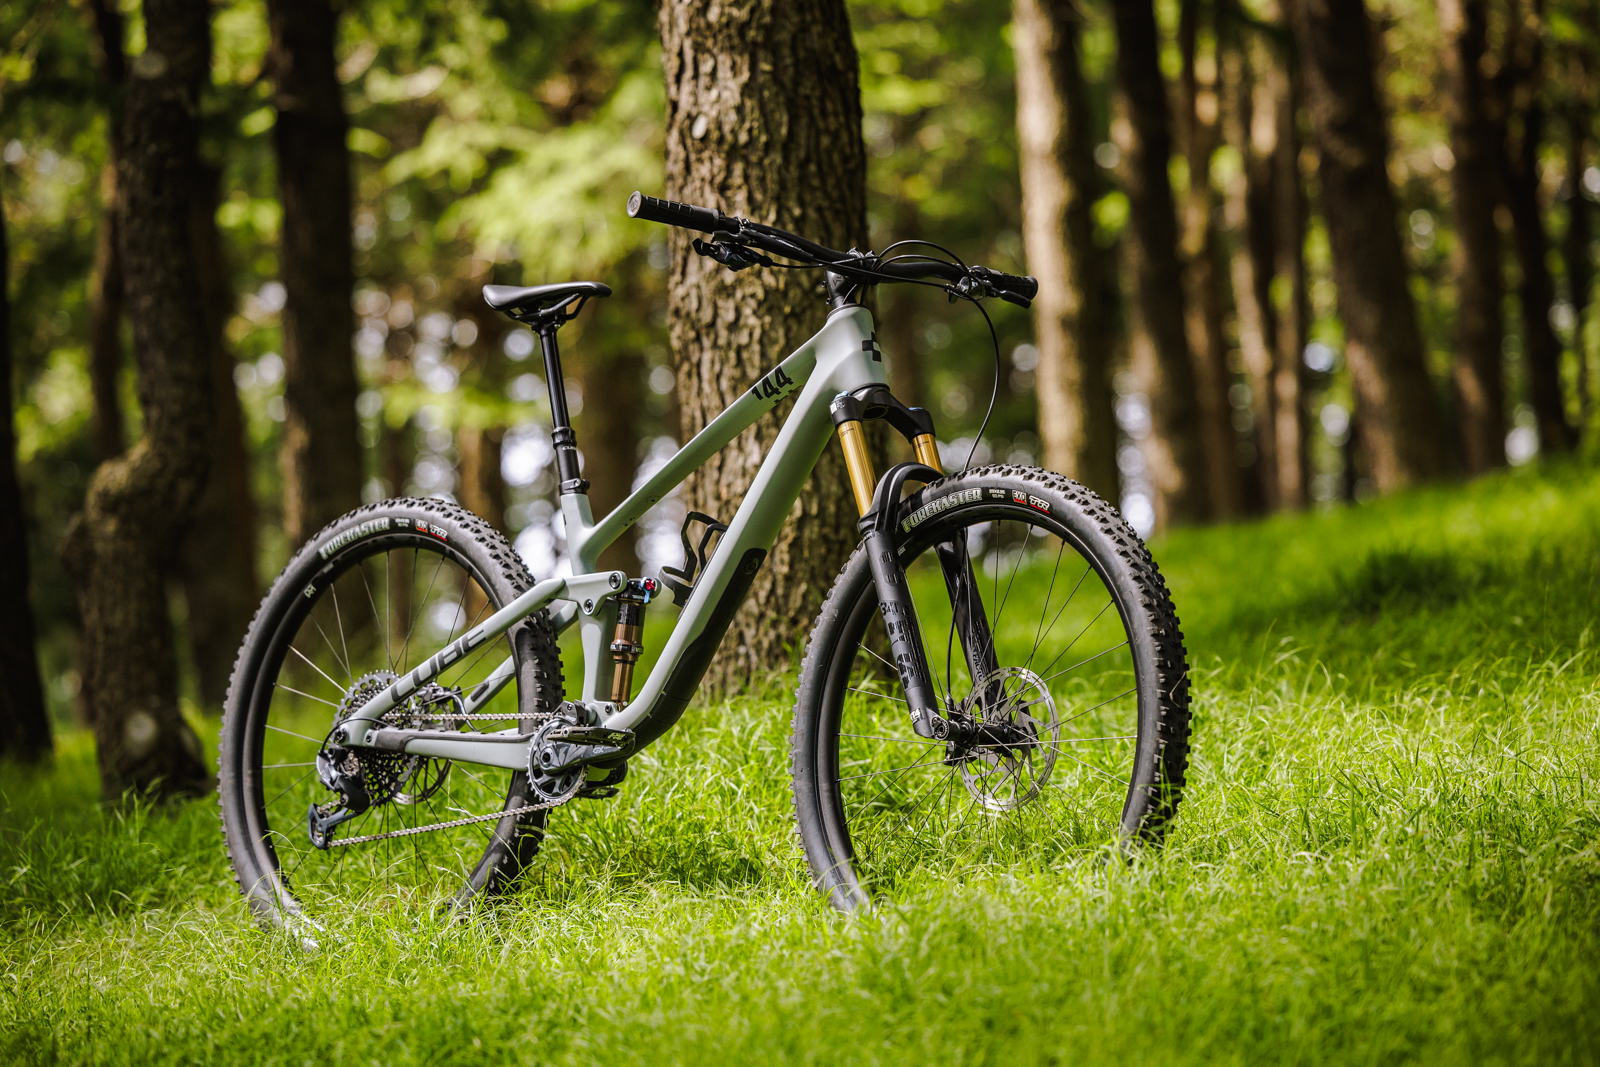
Troy Brosnan's GoPro tips
Got a GoPro but not sure how best to mount it? Check out some of these tips.
Just because you have bought a GoPro doesn't mean you can now have sweet riding footage to show your friends, or to use to review a race course. We caught up with Troy Brosnan to get his tips on how he mounts his GoPro for World Cup racing.
Due to UCI requirements, Troy needs to mount his GoPro underneath his visor, and it stays out of his vield of vision and will be quick to go in a big crash.
Away from the races, there are so many ways you can mount your GoPro for cool and steady vision. But first off – make sure you have the GoPro App – it makes everything so much easier, as Nick Waygood explains.
"Utilising the mobile app; the GoPro app gives you every chance you need to perfectly set up your GoPro from positioning to exposure."
"Use the GoPro app to get precise positioning for your mount, so that handlebars, your wheel or just plenty of the trail ahead are in the shot. It might take a few goes, so record some short riding clips to review on the app. After the initial setup it’s muscle memory as to where to have GoPro positioned."
Using a GoPro Chesty Mount
As we move around the bike, this means the vision can be a little more active but thankfully still pretty steady given the stabilising software in the latest GoPro cameras. A chest mount will give a great point of view (POV) video, bringing in your bars and the trail.
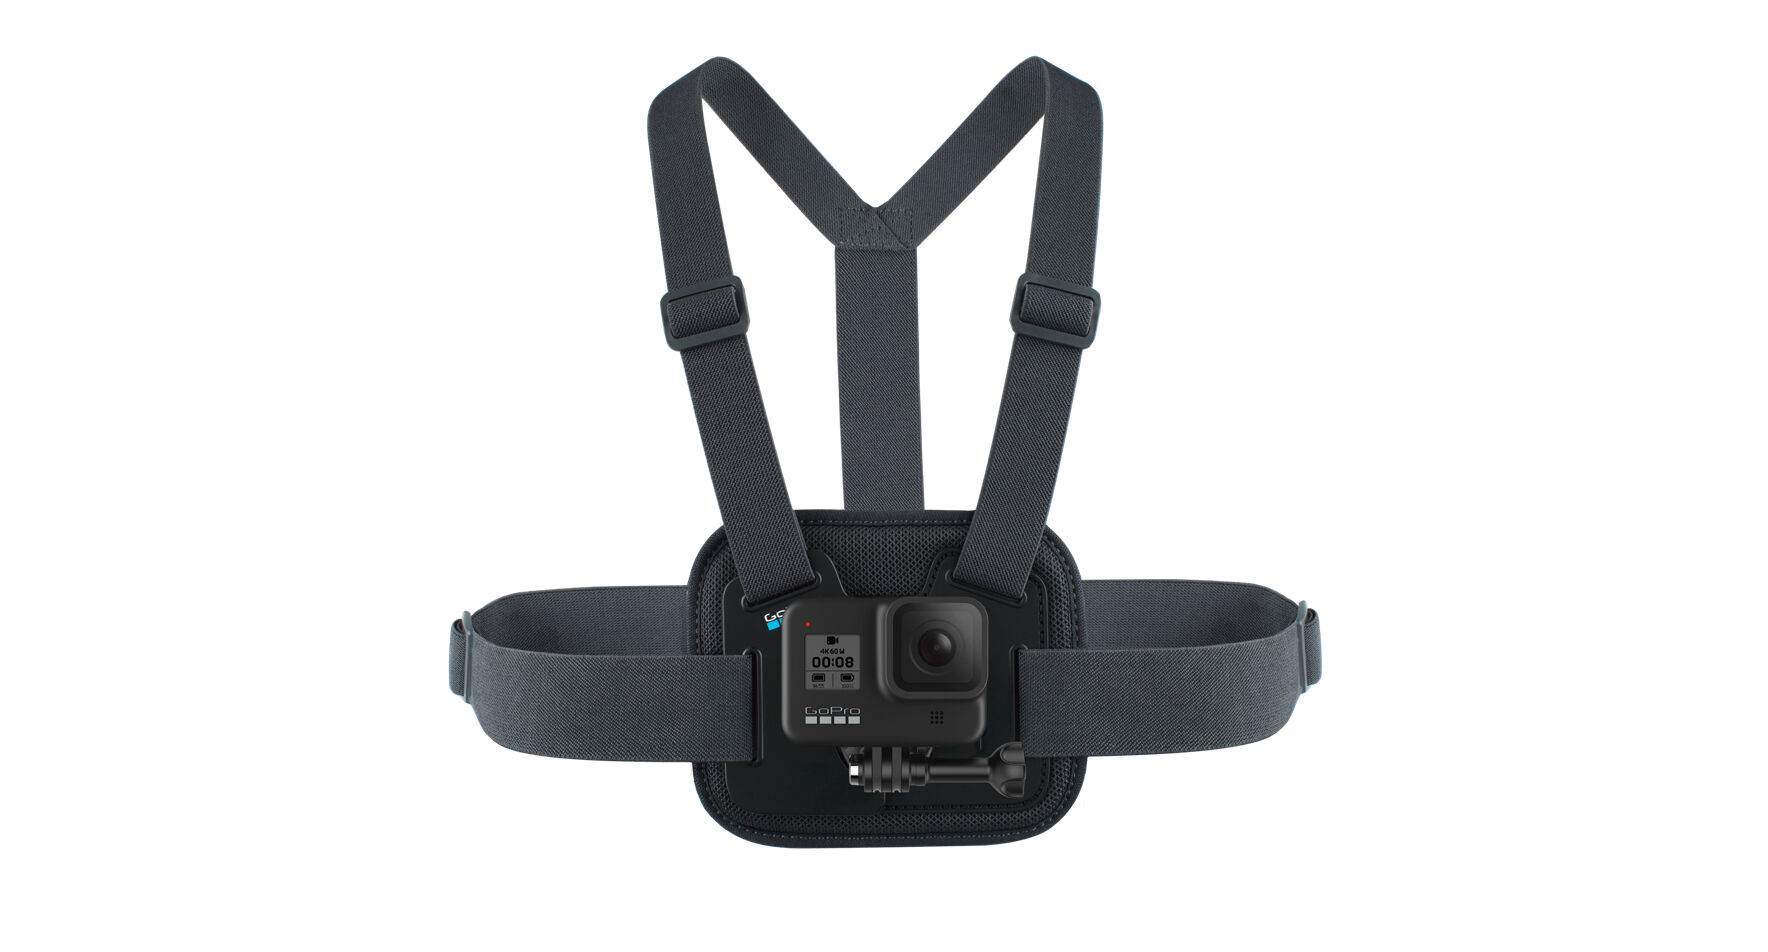
Make sure you have the camera pointing outwards enough that it sees down the trail in your regular riding position. You can check this with the GoPro App on your phone.
One of our bike testers, Ryan Walsch, recommends thinking about stability when using a chest mount.
"When running a chest mount, I like to run a pack with chest and waist strap so it holds the chest plate tighter." Ryan explains that it helps keep camera more stable on your body, and it also means the GoPro is a bit less of a distraction.
"For the chest mount, it’s generally best to tighten the harness until it’s nearly uncomfortable," adds Nick Waygood. "Mount the GoPro upside-down unless using a gimbal, tilting the GoPro up. Also, make sure the bolt is done up really tight!"
The GoPro Handlebar mount
This one is cool as it's not just a straight up bar mount – although sure, it can do that. It can mount to a seatpost or even part of your frame, and the head swivels. This means you can get some really cool angles. You might have it attached on the back of your seatpost, or the front of it looking forward, or on your bars watching the view to the side, or maybe on your frame watching your drivetrain and rear wheel in action. You could even mount it low on your fork crown, depending on your fork model.
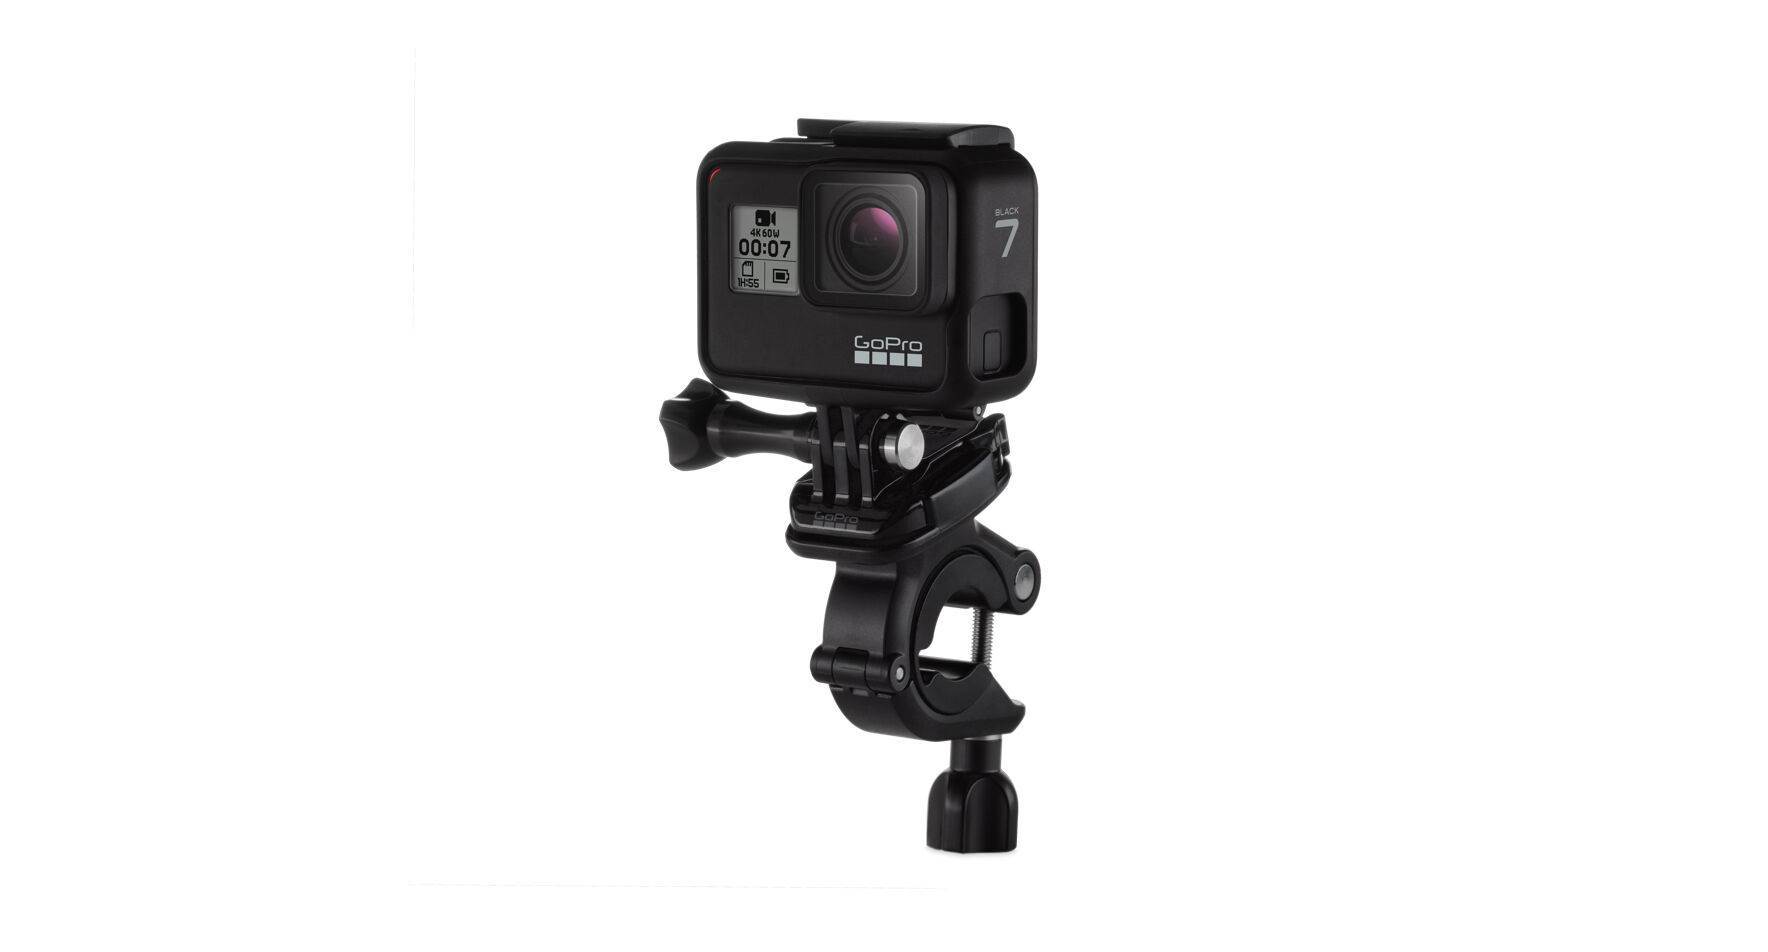
The mount can clamp between 9-35mm and can lock into 16 positions on the 360 degree axis. Check the view from the GoPro app before you start riding.
If you want to have the trail and natural sounds come through, Ryan Walsch recommends thinking about the microphone. "I would recommend a deadcat, which I had to make myself out of a microphone deadcat cover. This cuts down on wind noise massively." It can also help shield the microphone from excessive noise from rattling cable outers, or anything hitting the mount.
Using the GoPro Max Grip Tripod
So this one has a lot of uses, especially with voice command to activate it. You might look to set it up outside a turn you're going to roost – yelling something like "GoPro burst!" as you approach, to get a burst of photos.
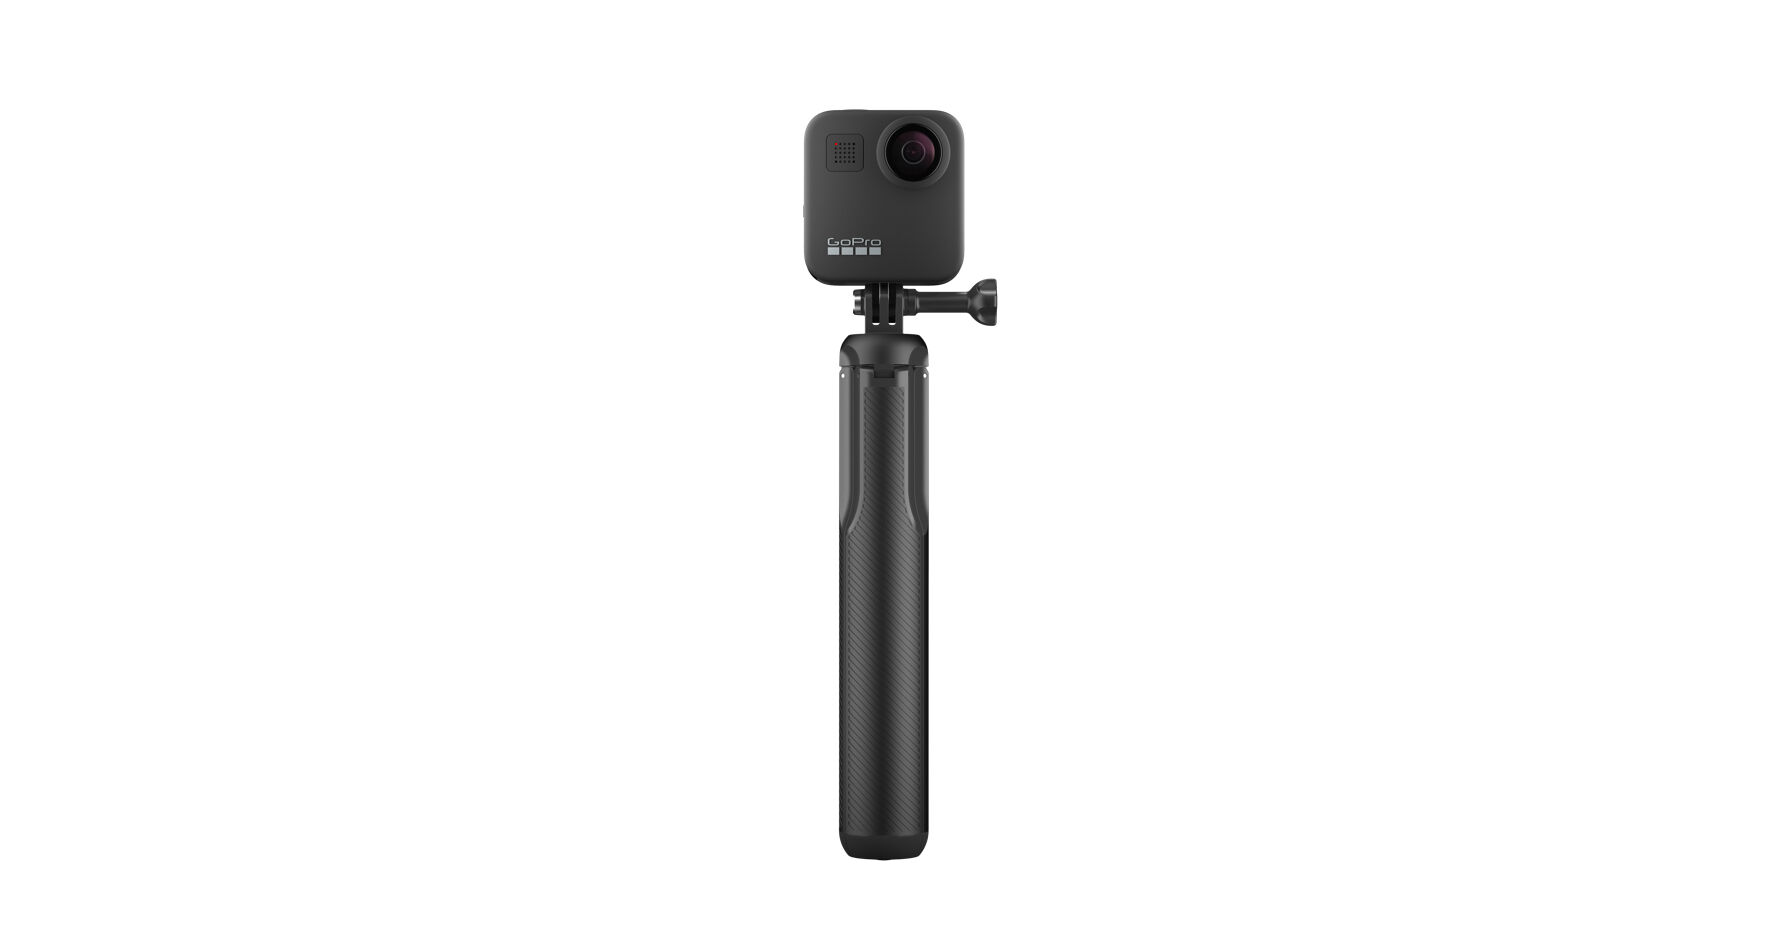
But it is a useful grip as well, which is awesome if you like trail running, or shooting videos with your mates or at an event. It's really slim line to put in your backpack as well.
There are a whole host of other cool mounts that can work for mountain biking, including the Bite Mount. And we have even heard of people using the stock mount in the package and trimming the backing plate to make unique mounts.
What have you come up with? Email us to show us what you have created!

